
Send an Email Campaign
Follow the steps below to create and send an Email campaign:
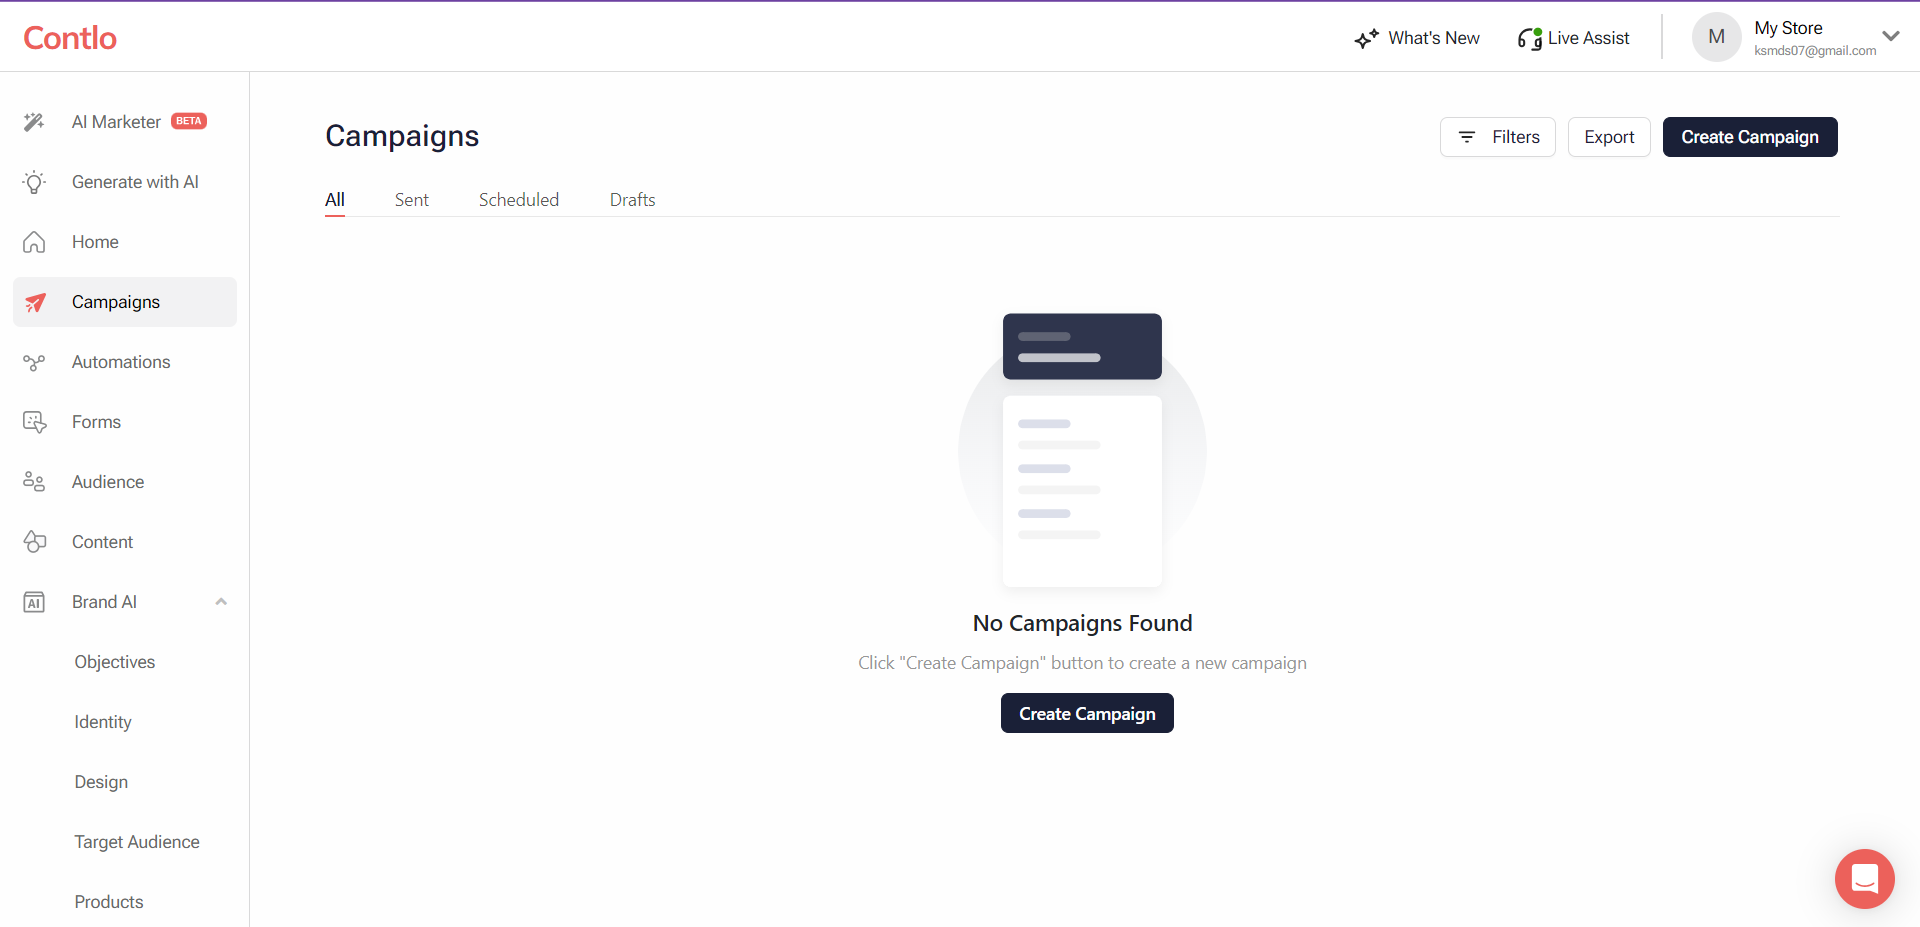
- Open your Contlo dashboard, and click Campaigns on the sidebar.
- On the Campaigns screen, click the Create Campaign button.
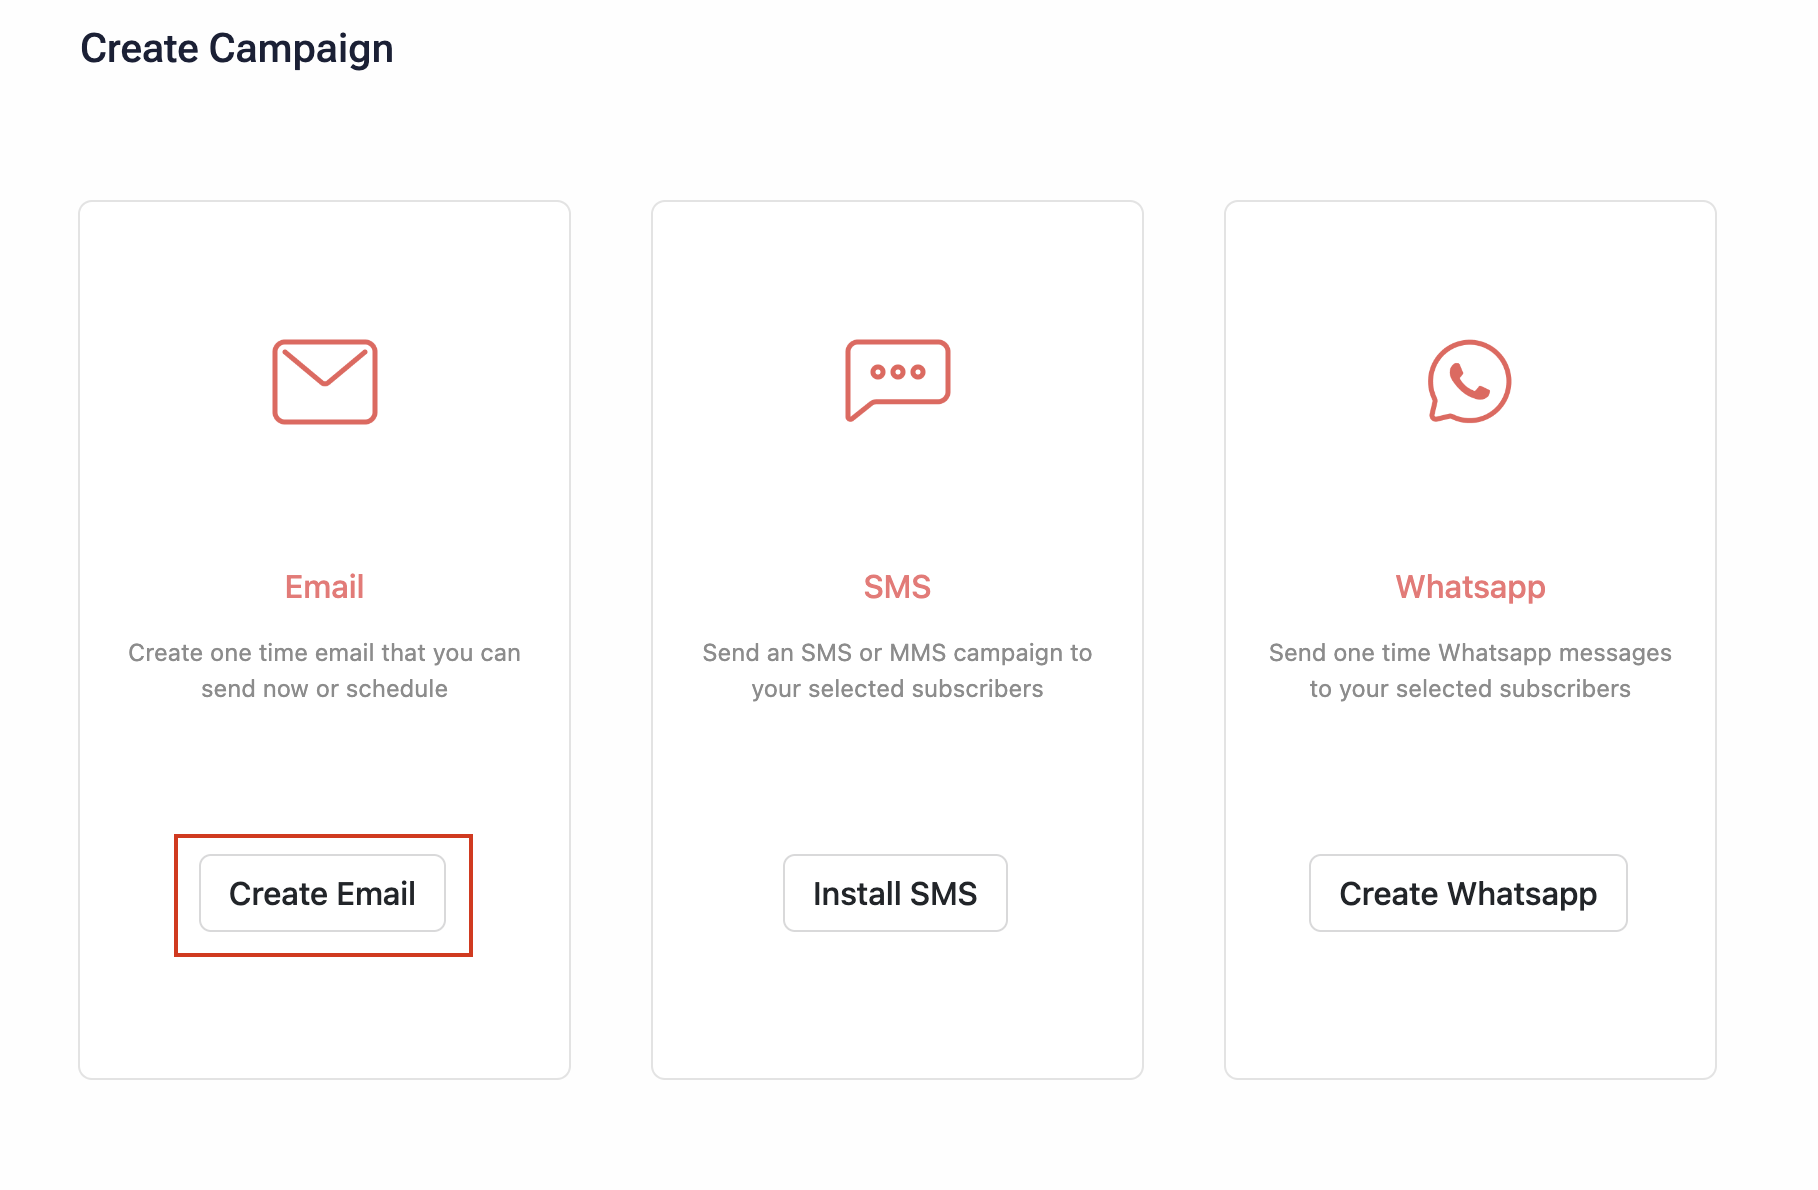
- On the Create Campaign screen, click the Create Email button.
-
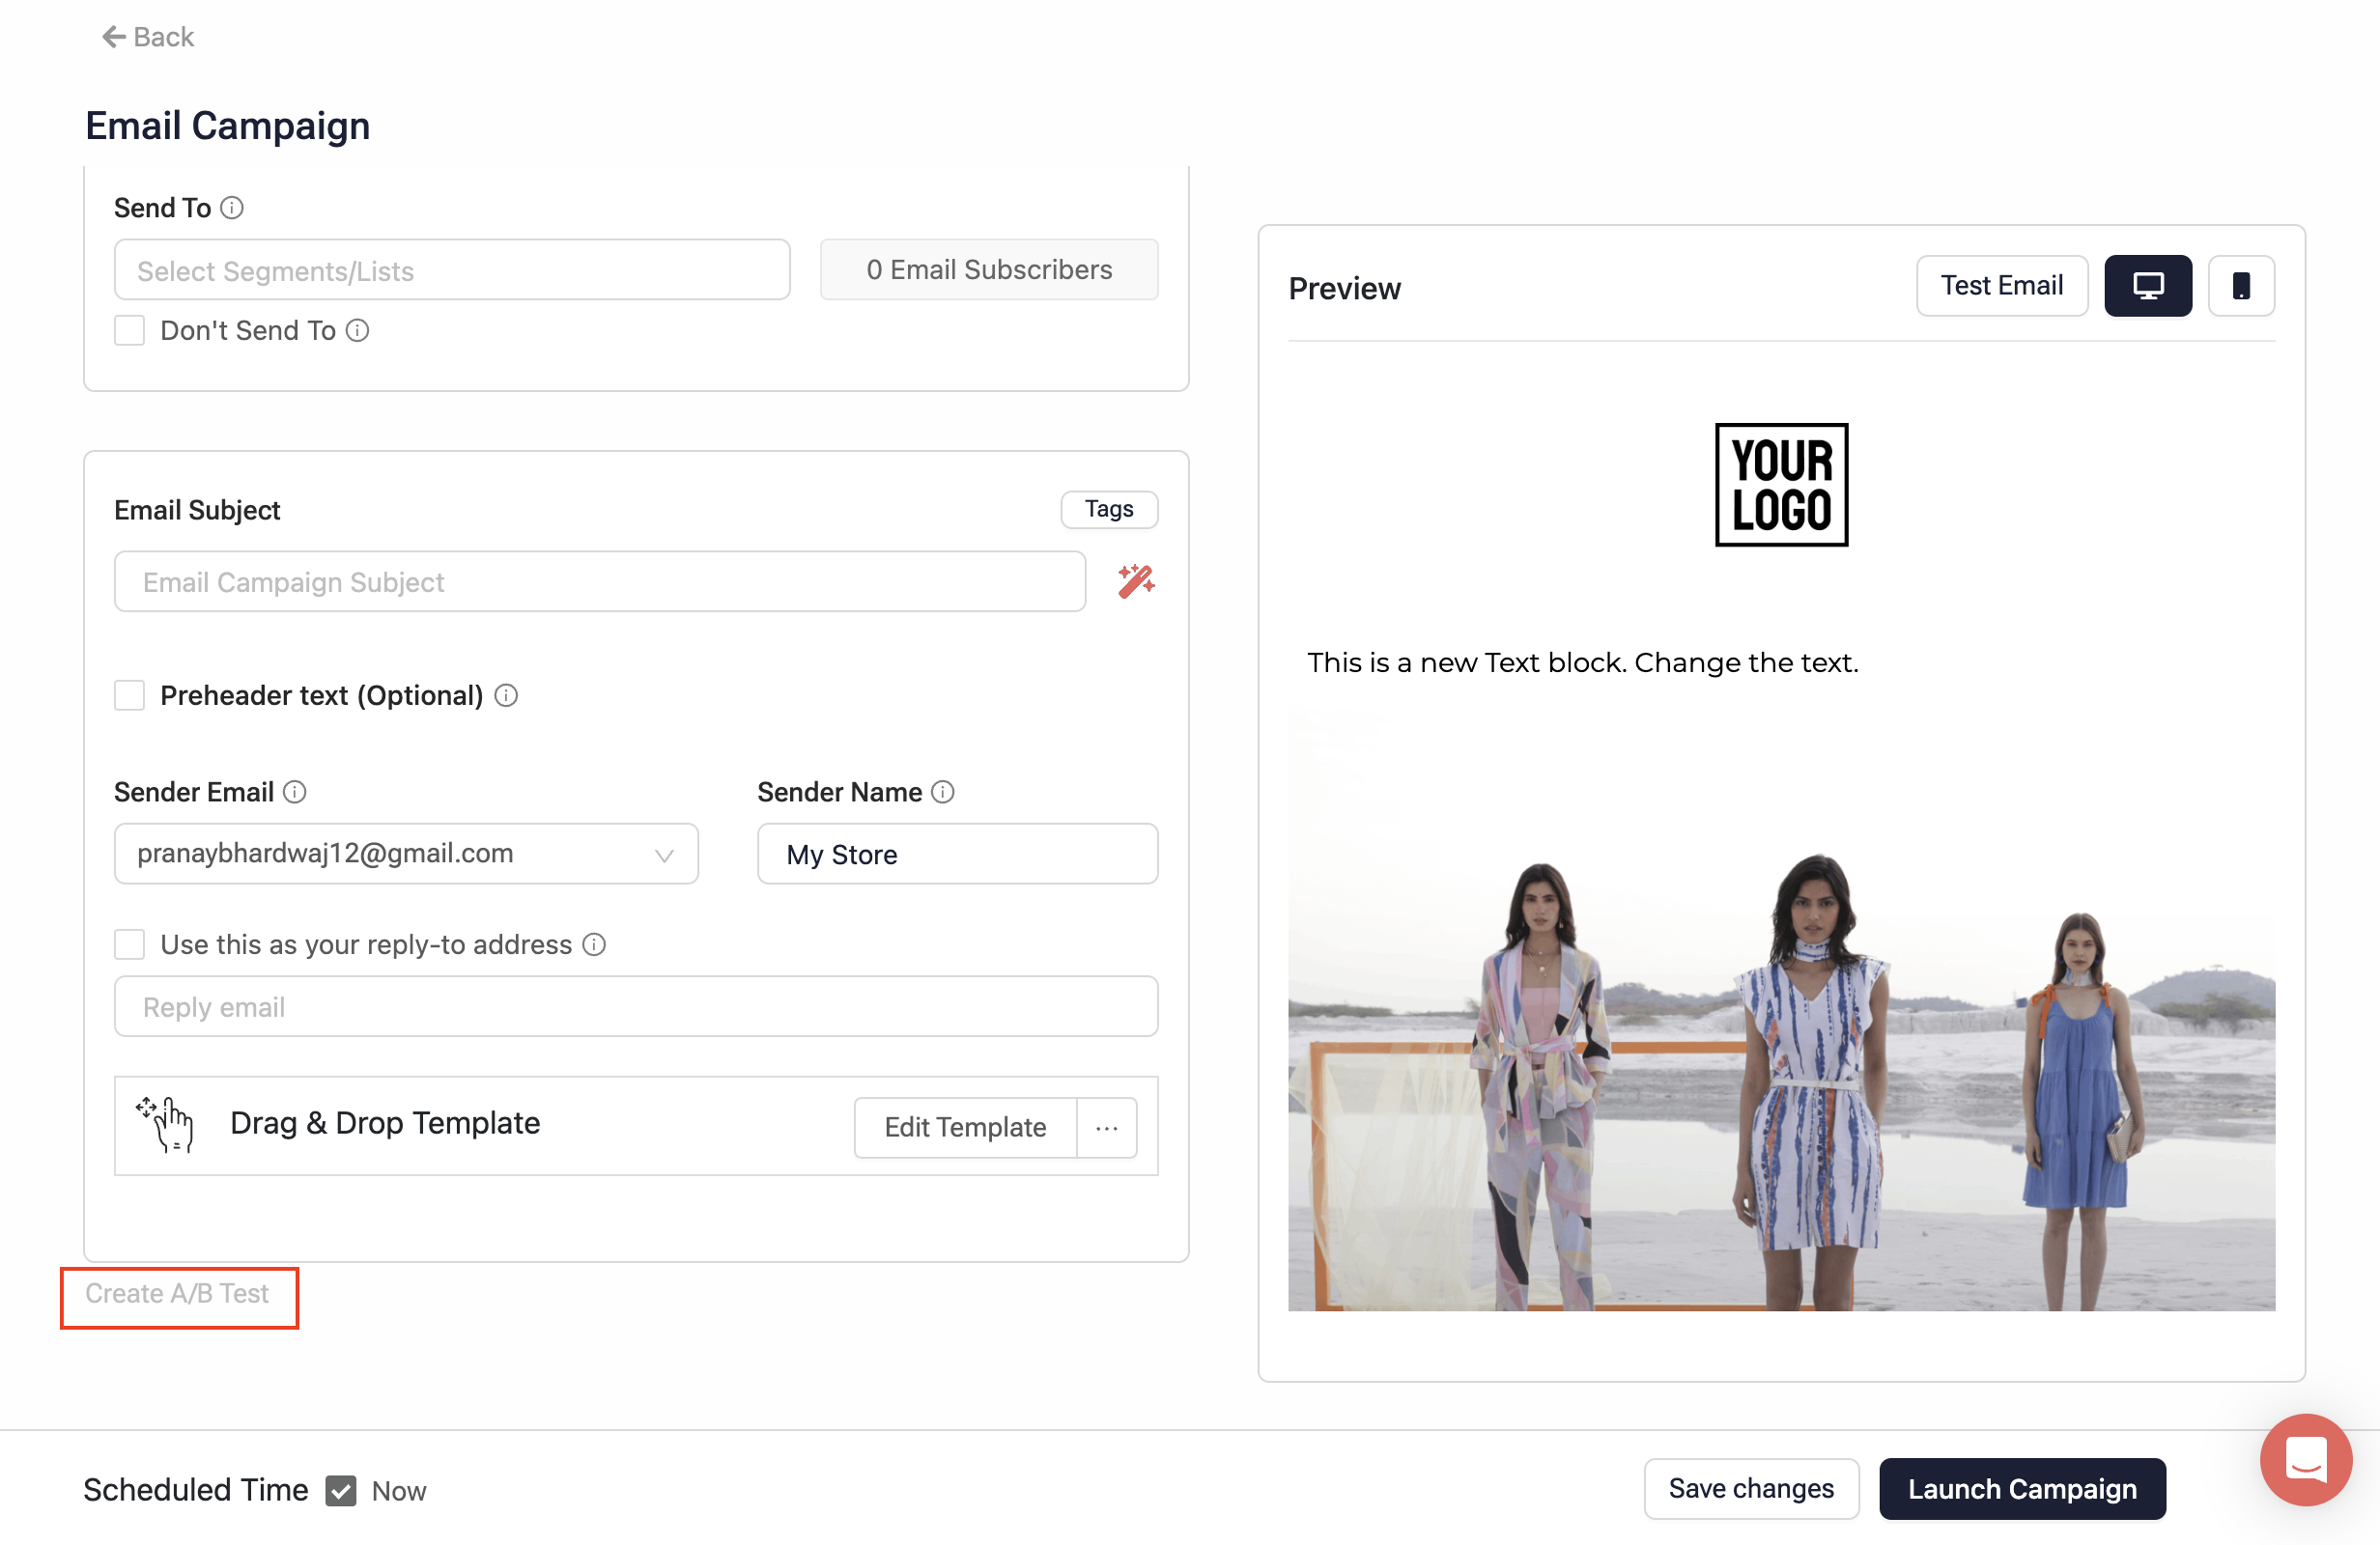
On the Email Campaign screen, fill in the required details. (* implies the mandatory fields)
-
Campaign Name*: Enter a name for the Campaign.
-
Tags: Select the desired tags for the Campaign
-
Send To*: Select the Segments or lists of users to whom you want to send the Email.
- Don't Send To: If you don't want to send the Email to a set of customers, Select this checkbox and the respective segment/list from the dropdown below
-
Email Subject*: Enter the subject for the Email. You can click the red pencil icon to generate a subject for your Email using AI.
-
Preheader text: Enter preheader text that appears with the subject line in the inbox.
-
Sender Email*: Select the Email ID you want to appear as the email's sender.
- Sender Name: Enter the sender name that appears in the customer's mailbox.
- Use this as your reply-to address: If you want to receive replies from the customers on a separate Email ID, uncheck this checkbox and enter the respective Email ID in the input field below.
-
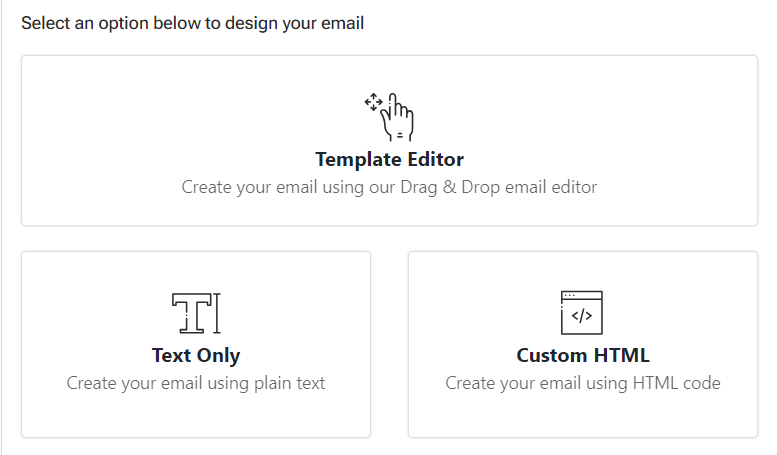
Design your Email*: Pick one of the three options to design your Email:
- Template Editor: Choose a pre-designed template from Contllo for your Email.
- Text Only: Create your Email in plain text.
- Custom HTML: Create your Email using custom HTML.
-
Create Email using AIYou can also use AI to build your Email. Click the Generate with AI button at the top right corner. On the Generate Email with AI modal, select your use case, describe your campaign in detail and click Generate
- Click the Create A/B test option to perform an A/B test for your Email Campaign.
- Click Save Changes to save your configuration.
- Before launching the Campaign, check the Email preview in the Preview section. Ensure that there are no missing blocks in your Email.
- To test the Email before launching the Campaign, click the Test Email button in the Preview section. In the Send Test Email modal, enter the Email ID to send this Email and hit Send.
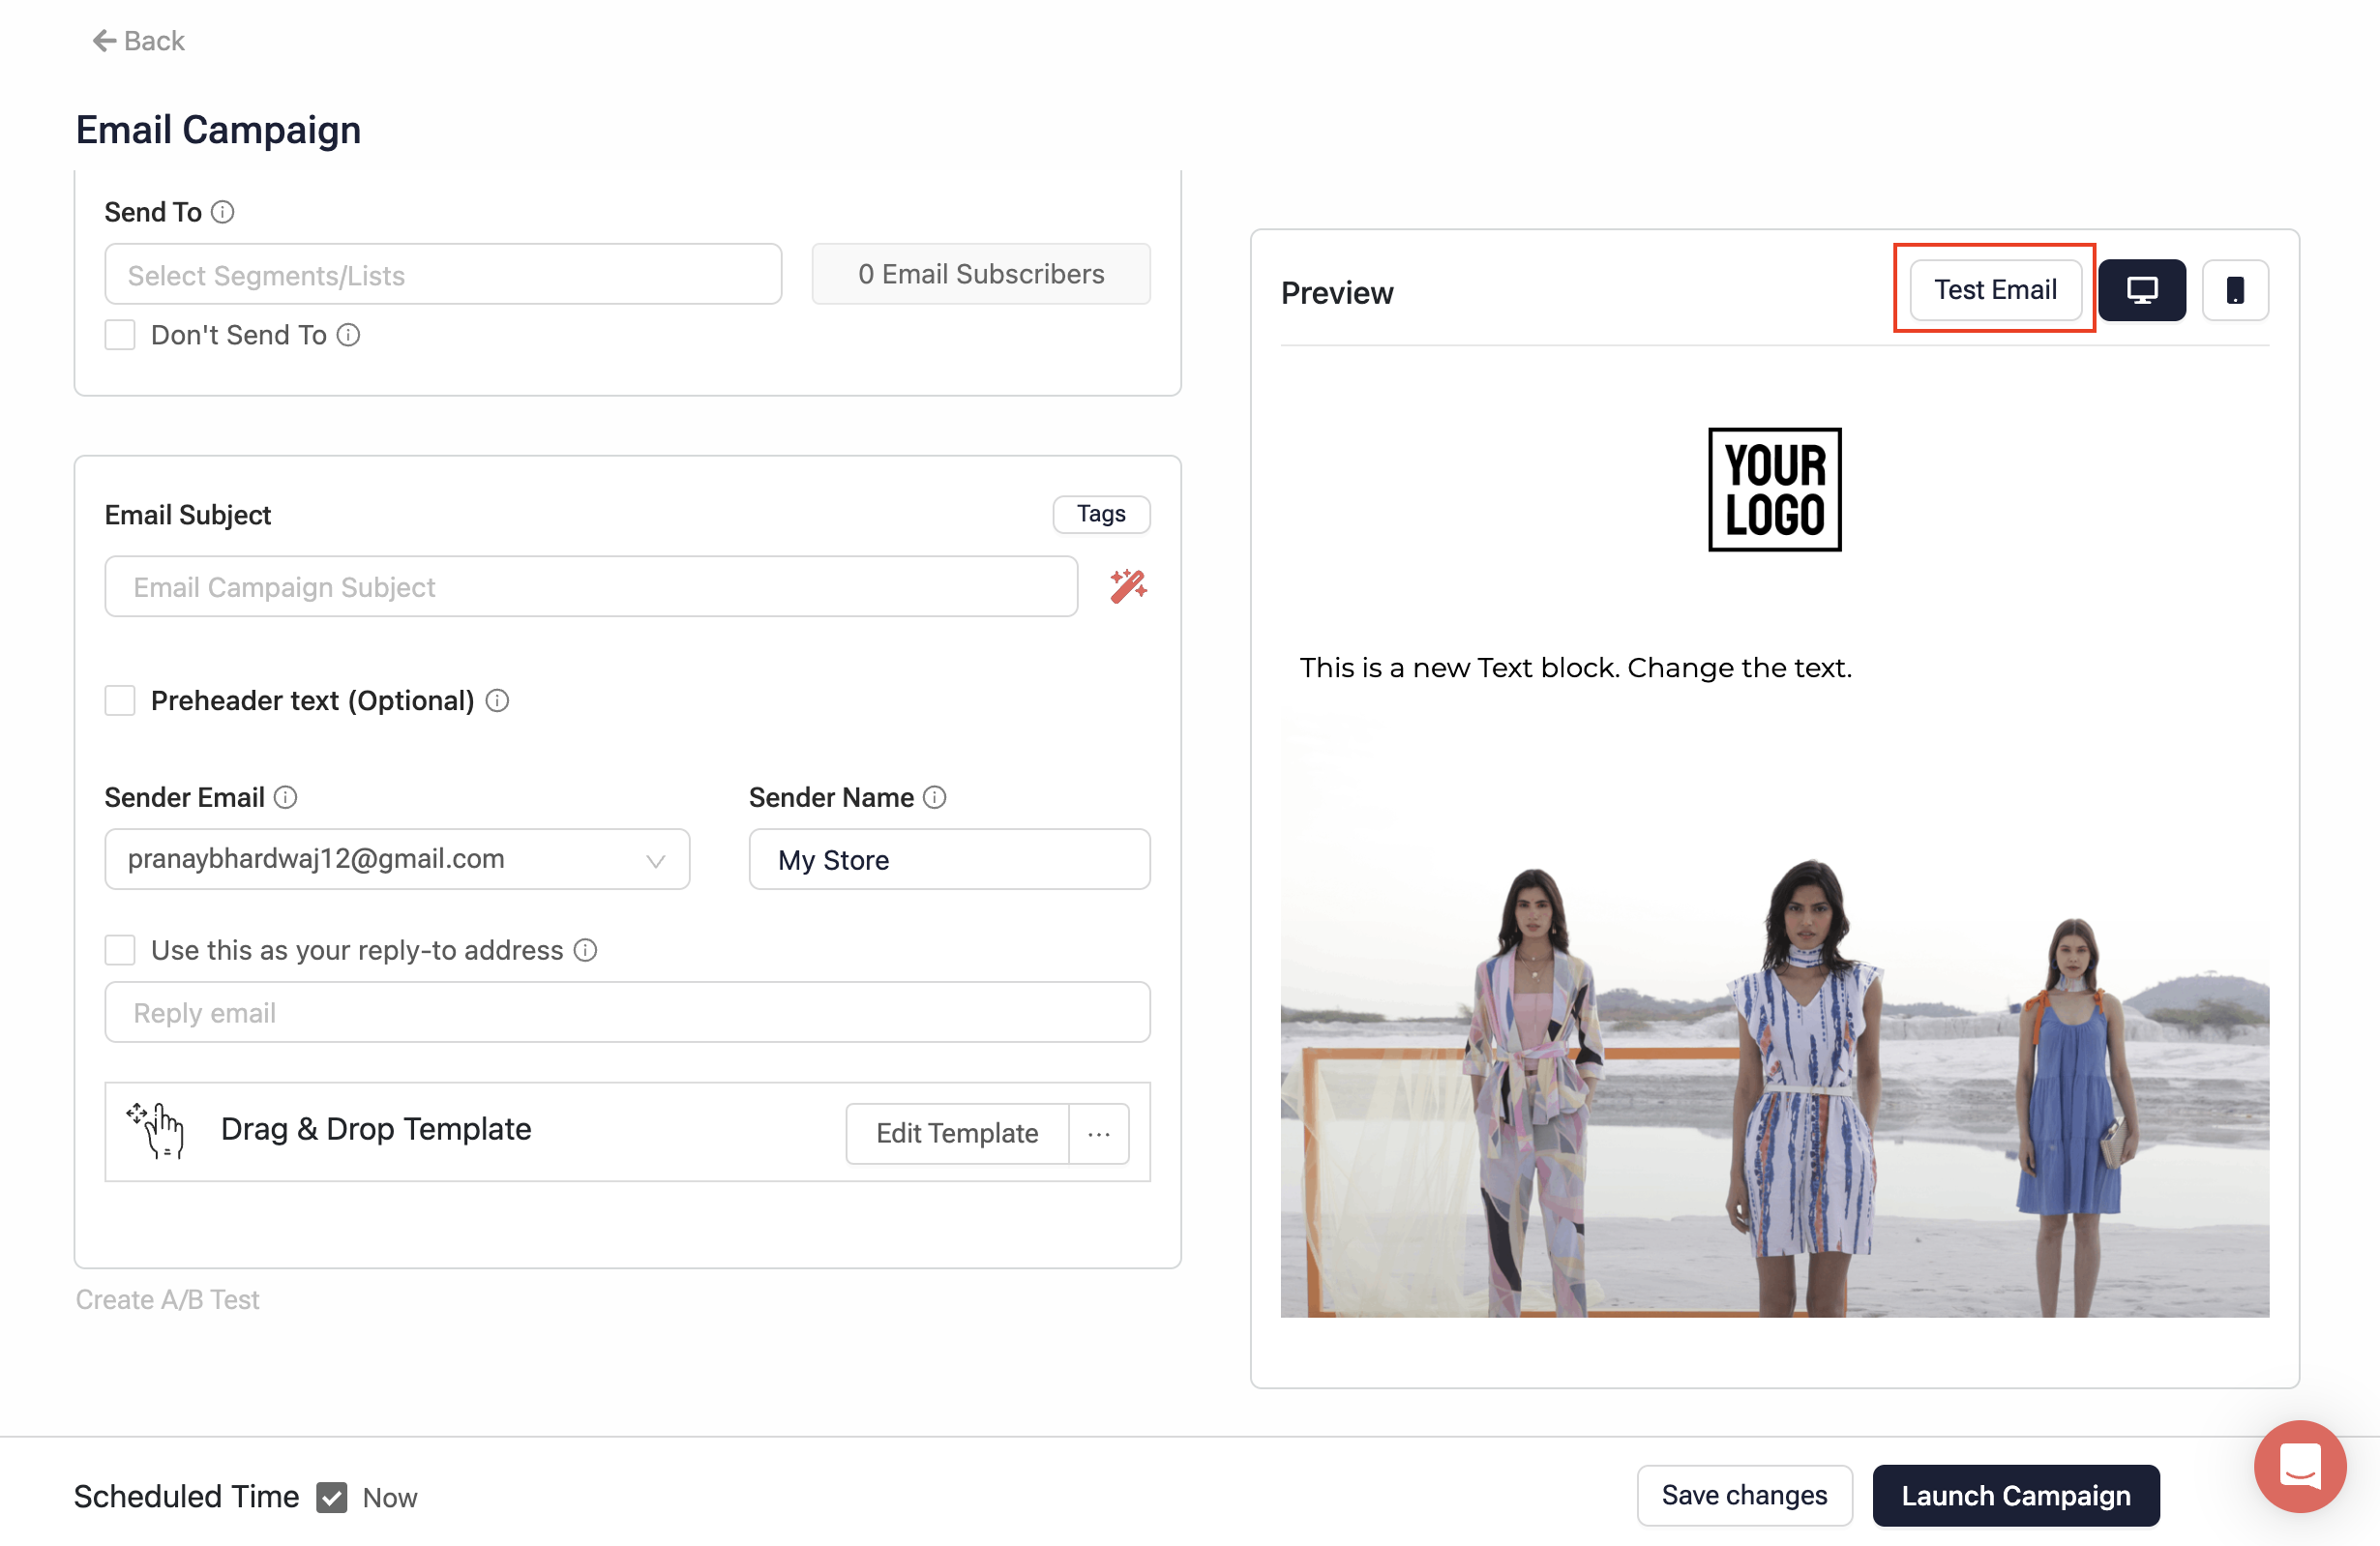
- Specify the launch time for your Campaign using the Scheduled Time option. Choose Now if you want to send the Email immediately. If you prefer to schedule it for later, uncheck the Now checkbox and set the desired time using the date picker.
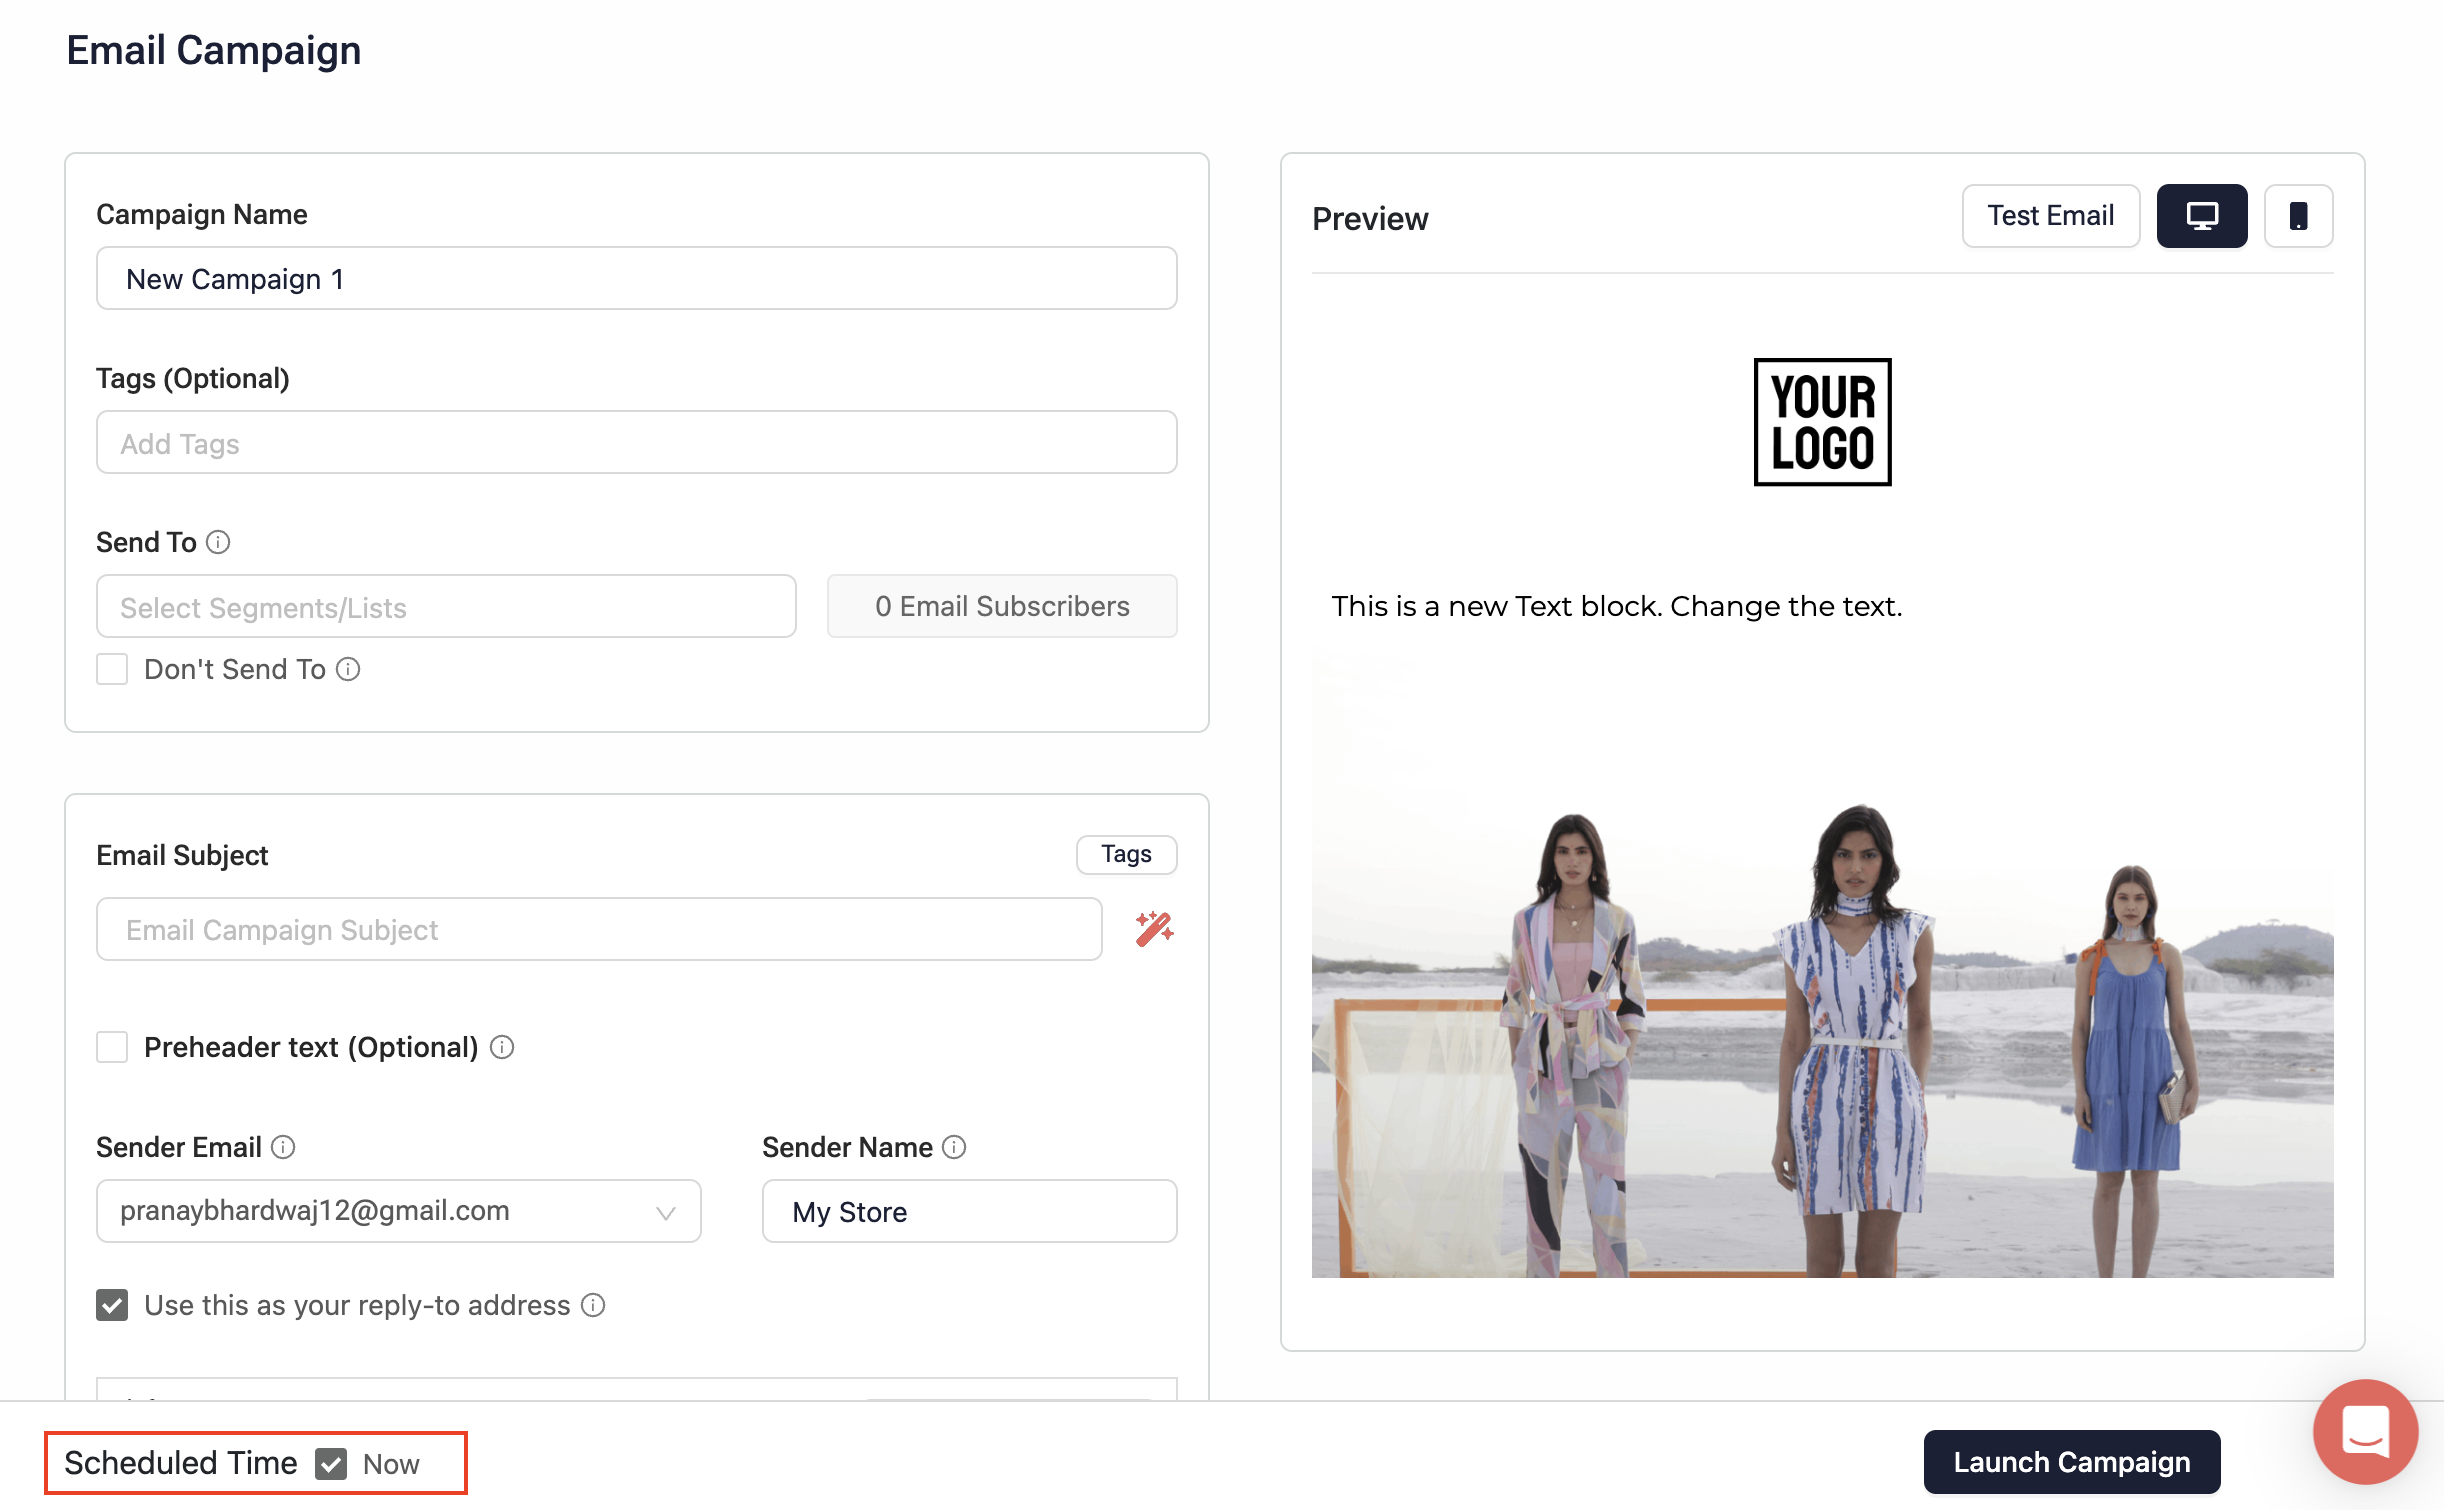
- Click Launch Campaign to send the Email to the target customers.
Updated 2 months ago