
Trigger
A trigger is an event that starts or stops the automation. You can define the events that start or stop the automation and define the users/ lists or segments for this automation.
Trigger Settings
When you click the Trigger block in the Automation Workflow, the trigger settings section opens on the right pane.
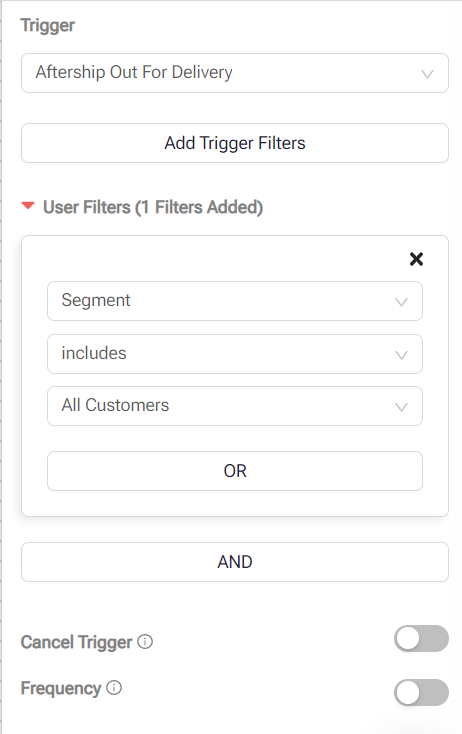
Trigger
Select an event from this dropdown according to the Automation workflow’s objective that acts as a condition to start the automation.
Trigger filters
These are the event properties of the selected trigger event. You can filter the trigger using these properties to activate the automation on a specific user action.
Add User Filter
The user filter defines what category of customers should receive this message. For example, by adding the user filter set to country Argentina, it triggers the Automation workflow only for those customers that provide this country at the checkout page or subscribe to the signup form that determines your customers' location automatically.
Cancel Trigger
Select an event from this dropdown according to the Automation workflow’s objective that acts as a condition to stop the automation. The cancel trigger makes your customers exit the automation at any stage, as soon as its condition is satisfied. You can also add multiple cancel triggers. For example, you can cancel the workflow when:
- The customer’s order is fulfilled
- The customer abandons a cart
Frequency
When activated, it stops the repetition of the same Automation trigger. For example, if you set the trigger for when a customer visits a specific page, they might activate the Automation multiple times during one session. To prevent this, you can set a Frequency value for these flows, specifying a delay of a few hours or days.
Updated 2 months ago