
Send data to Contlo via Zapier
You can use Zapier to send data from a third-party platform to Contlo and vice-versa. Follow the steps below:
-
On the Zapier App on Contlo, click the Create Zap button.
-
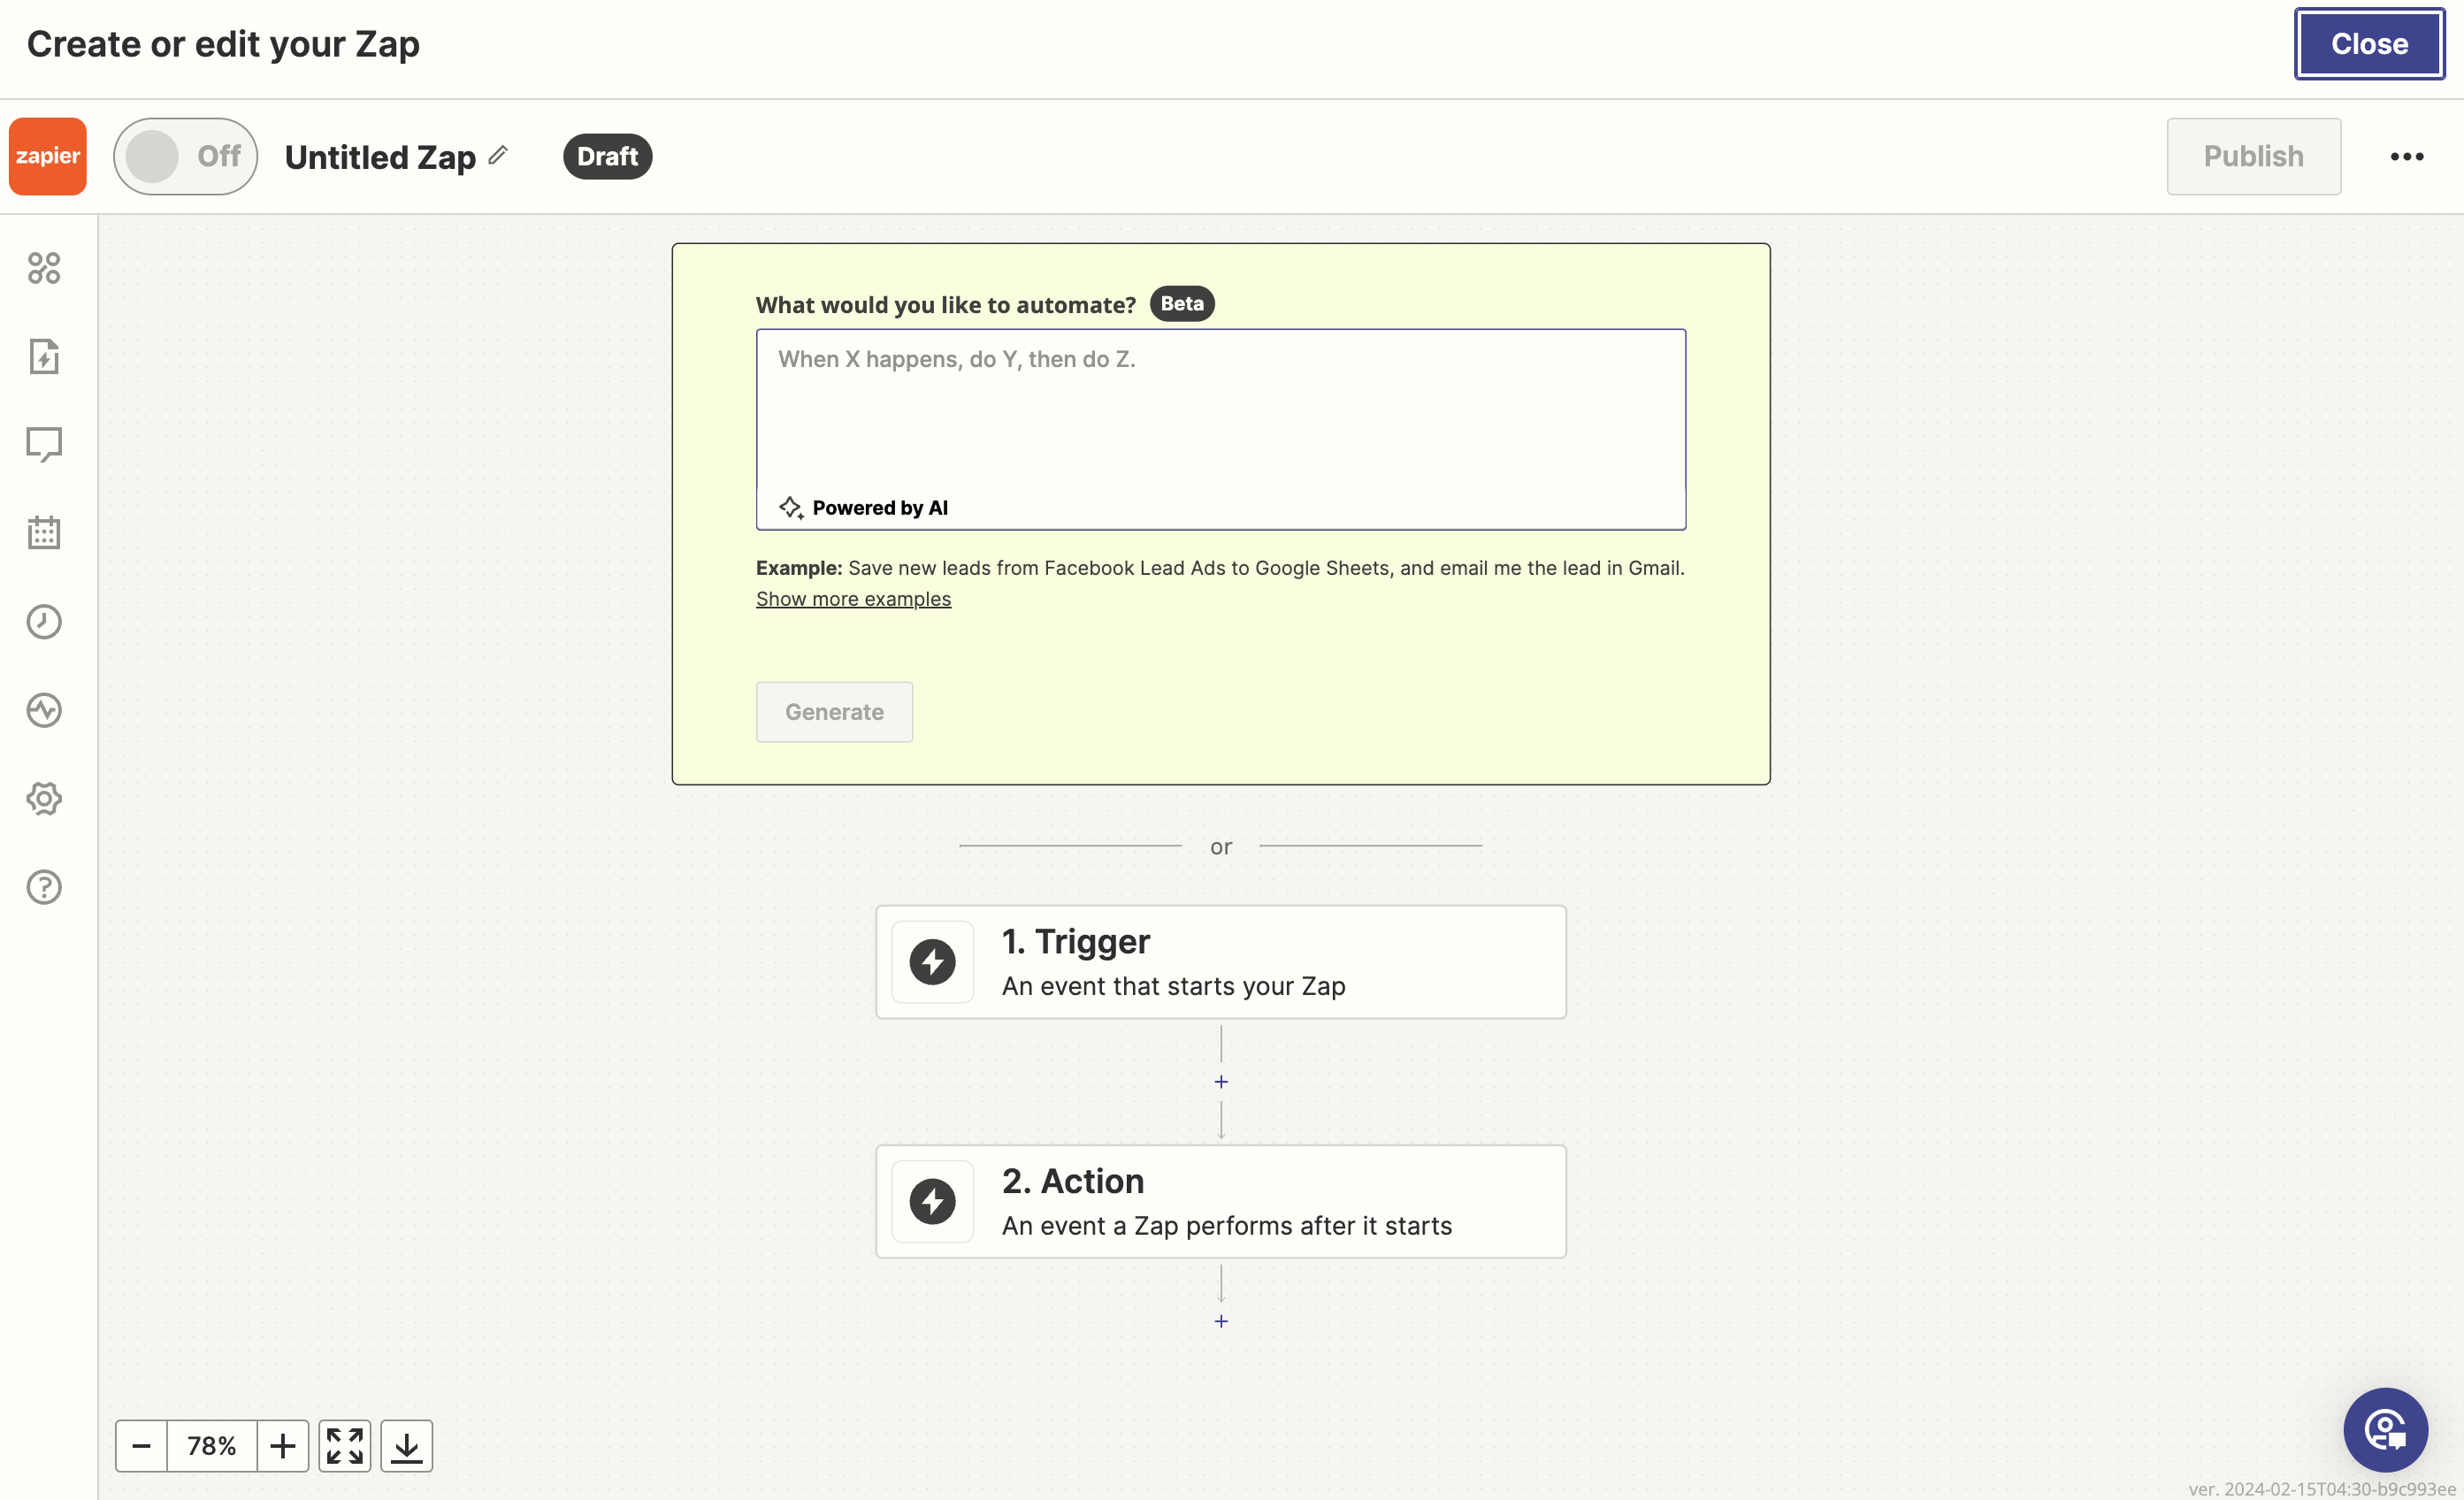
On Create or edit your Zap, You have to set up 2 steps:
-
Trigger
-
Action
-
Trigger
A trigger is a user event that starts your Zap. Follow the steps below to set a trigger:
- Click the Trigger block to open the Change trigger modal.
- Select the application on which you want to set a trigger. For this guide, let's select Google Sheets.
- You would be redirected to the Create or edit your Zap screen containing the Google sheet configuration on a side panel. Fill in the required details as follows:
- App & event: Choose an event from the Event dropdown that you want to act as the trigger to start the Zap.
- Account: Connect the Google account from where you want to fetch the sheets.
- Trigger: In the section, define the configurations to set the trigger.
- Spreadsheet: Choose the Spreadsheet where the trigger should work.
- Worksheet: Choose the specific sheet where you want to set the trigger.
- Trigger Column: Select the sheet column to set the trigger.
- Test: Test the trigger you've configured. It fetches data from the sheet's column you've selected.
- Click Continue with the selected record to set up Action.
Action
An action is a response to the trigger you've set. In this case, the action defines the data sent via Zap to Contlo when the trigger gets fired on the third-party application. Follow the steps below to set up an action:
- Click the Action block to open the Change Action modal.
- Search and select the Contlo (Latest) application to configure the action.
- You would be redirected to the Create or edit your Zap screen containing the Contlo configuration on a side panel. You can select the following events to be created in Contlo via the Zap:
- Create Custom Event v2
- Create user profile
Create Custom Event v2
To create an event in Contlo via Zapier, configure the steps as follows:
- App & event: Select Create Custom Event V2 event to send an event to Contlo when the trigger is activated.
- Account: Choose a store connected to your Contlo account where you want to send the event.
- Action: Define the required Action parameters as follows:
- Event ID: Add a unique ID for your event.
- Event name*: Enter your event name.
- Email: Enter the Email ID of the user to map the event to their profile
- Phone Number: Enter your customer's phone number to map the event to their profile.
At least one of the following fields, either the Email address or Phone Number is mandatory.
- Whatsapp Opt In: Set this flag to True if you want the customer's phone number to be subscribed to WhatsApp, and set it to False otherwise.
- Event Time*: Define the time when to create this event. It accepts value in Epoch ms.
- Event Properties JSON: You can define custom properties for your event here. Accepts data in JSON format. Define a key and choose its value from the dropdown. Alternatively, you can manually add the properties in JSON format. Click Continue.
Example JSON:{ "appointment_id": "ap1", "appointment_type": "cardiac", "school": "hspublic", "class": "7" }
- Test: Click Test Step to check if the Action is working. Zapier fetches the data selected in the Trigger's test step and sends the action information to Contlo. If you don't want to test the action, click Skip Test.
- Click Publish to take the Zap live.
Create User Profile
To create a user profile in Contlo via Zapier, configure the steps as follows:
- App & event: Select the Create Profile event to create a user profile in Contlo via the Zap.
- Account: Choose a store connected to your Contlo account where you want to create the user profile.
- Action: Define the required Action parameters as follows:
- Email: Enter the email ID for the new user.
- Phone Number: Accepts a String value. Enter the phone number for the new user profile.
At least one of the following fields, either the Email address or Phone Number is mandatory.
- First Name: Enter the first name of the new user.
- Last Name: Enter the last name of the new user.
- Zip: Enter the zip code of the new user's address.
- City: Enter the city of the new user.
- Province: Enter the state of the new user.
- Country: Enter the country of the new user.
- Custom Properties JSON: You can define custom properties for your user profile here. Accepts data in JSON format. Define a key and choose its value from the dropdown. Alternatively, you can manually add the properties in JSON format. Click Continue.
Example JSON:{ "status": "Confirmed", "age": "48", "gender": "Male" }Ensure that the custom properties added here are already defined on your Contlo account. To add custom properties on Contlo, go to Settings > Marketing Settings > Profile Property and click the Add Property button.
- Test: Click Test Step to check if the Action is working. Zapier fetches the data selected in the Trigger's test step and sends the action information to Contlo. If you don't want to test the action, click Skip Test.
- Click Publish to take the Zap live.
Updated 2 months ago