Email Editor
The email editor, provides you the chance to fully customize the way you want your campaigns to look.
Through the use of the drag-and-drop feature of the Email Campaign Editor, you can ensure that campaigns are created quickly and are to the point.
Below is an overview of how to make email campaigns from scratch:
- After navigating to Email Campaigns, click on Template Editor: which will allow you to Drag & Drop within editor.

- From here onwards, you can either pick a template that you have already worked with before, and can make your fair share of changes to it, to modify the look and appeal of it. You can also bring in changes that meet your purpose a little better.
Or, you can click on build from scratch on the top-right hand corner of screen. This will open up the email editor.

Build from scratch: to access the email editor
- Build from scratch will open up the following:
Here's what will open up in front of you:
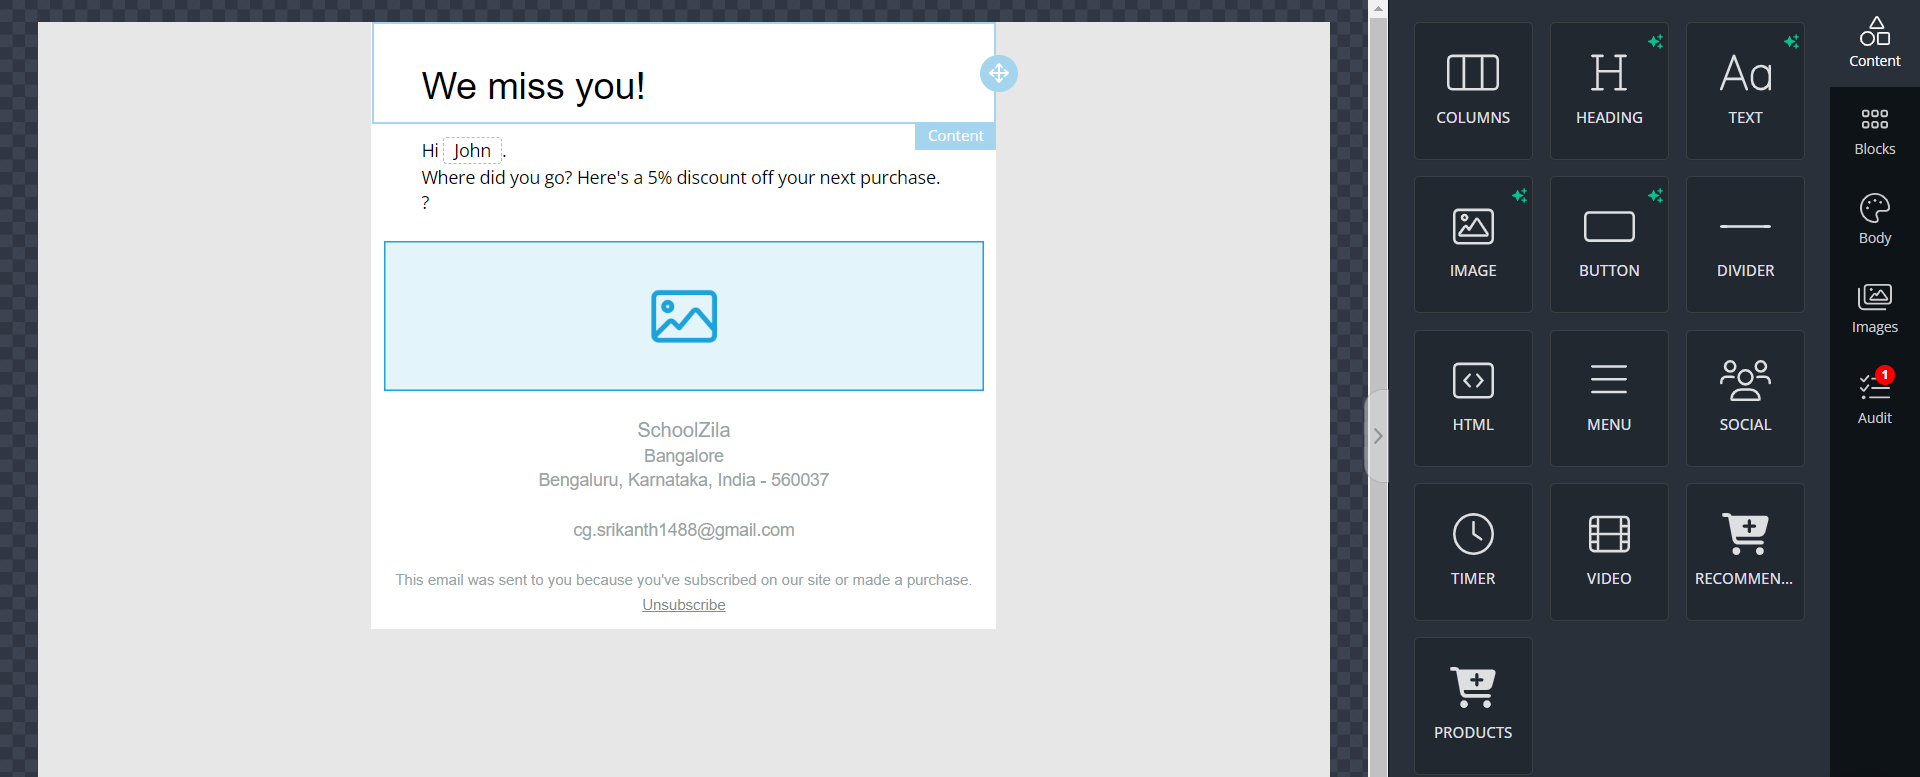
The Email Campaign Editor
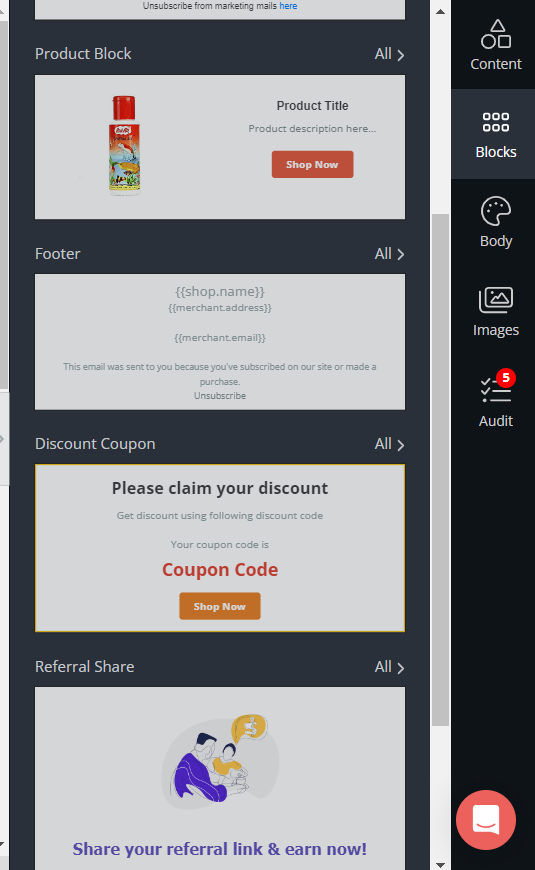
Through the blocks section, you can decide what you want the main intent of your campaign to be. Whether it is to highlight a new product launch, or bring attention to a new sale. This feature allows you to bring a chunk of content to your campaign.
You can modify the content according to the text that you want to add, where you want to place dividers, whether you would like to include an HTML code that is pre-made and so on. There are additional features too, such as adding a timeer (incase you want to indicate the presence of a time limit). You can also keep the campaign product specific and include videos, should you desire to.
Following is an image what will be visible on your screen. Alongside this, you can play around with the features to get a hang of how to create your ideal email campaign.
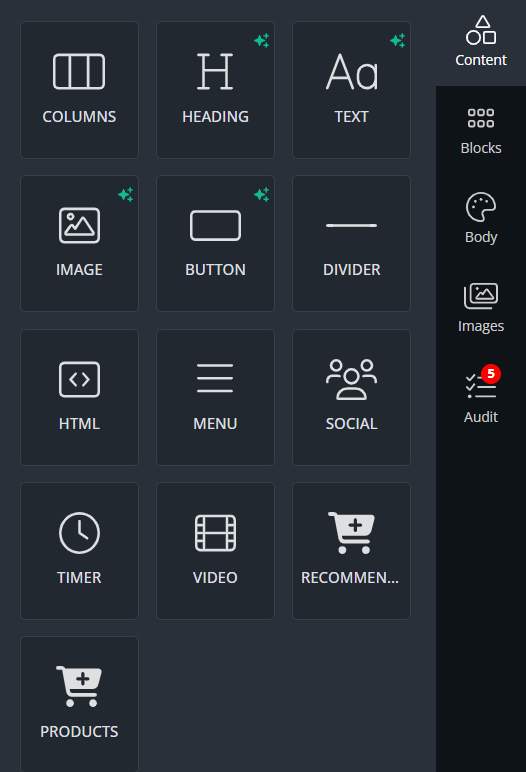
The drag and drop system allows for flexibility in the way in which you adjust the placement and overall structure of your campaign.
The body feature would enable the following adjustments to be made, as given below:
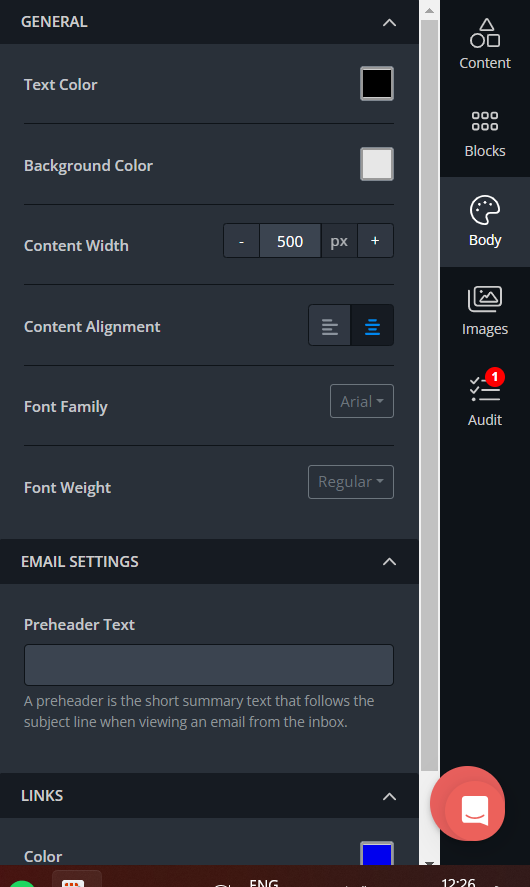
This feature allows you to make the content as precise and to-the-point as you wish to. From changing the colors of the text, background, to shifting alignments and fonts; you can modify all elements within this category of the editor.
The images that you generate can be directly through the platform, or you can even give the AI-feature a little nudge for it to create an image of it's own. All you'll have to do is type in a prompt ; the description of the kind of image that you would like the AI to produce, and voila- you can change the positioning and edit it as per your wish. Check out the two images below for the same:
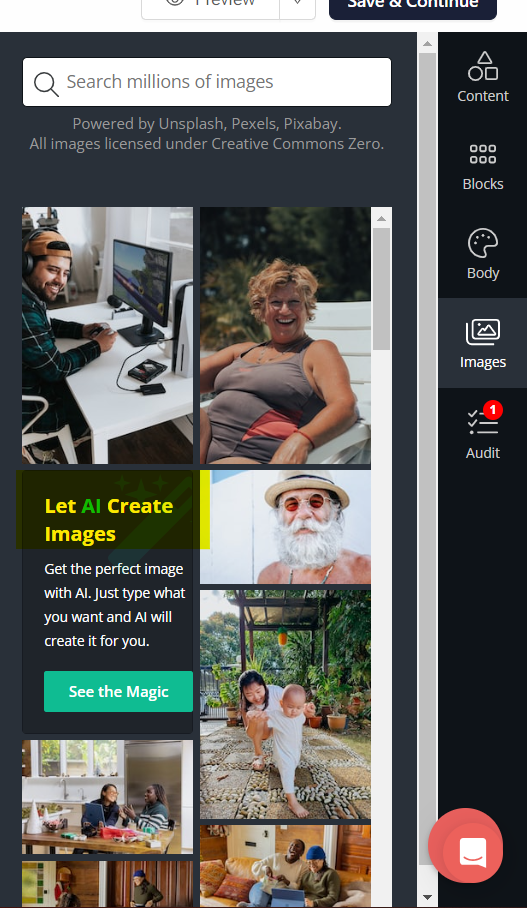
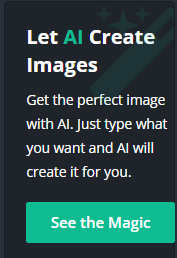
After you are done with the editing of your campaign, it is good-to-go and send off. Make sure to send a test campaign to make sure that it is absolutely ready to be sent out to users.
You can edit the campaign as many times as you wish to!
Updated 2 months ago
