
Lists
Lists allow users to create separate buckets for their contacts, which are collections of individuals that can be connected to a form or created separately to collect zero-party data. These Lists can be used to directly engage with specific groups of customers and gather more information about their preferences and behaviors.
You can also connect these lists to forms and gather more information about your contacts. You can use this information to segment the contacts and personalize their engagement.
Create a List
To create a new list, open Audience from the sidebar, navigate to the List tab, and follow the steps below:
-
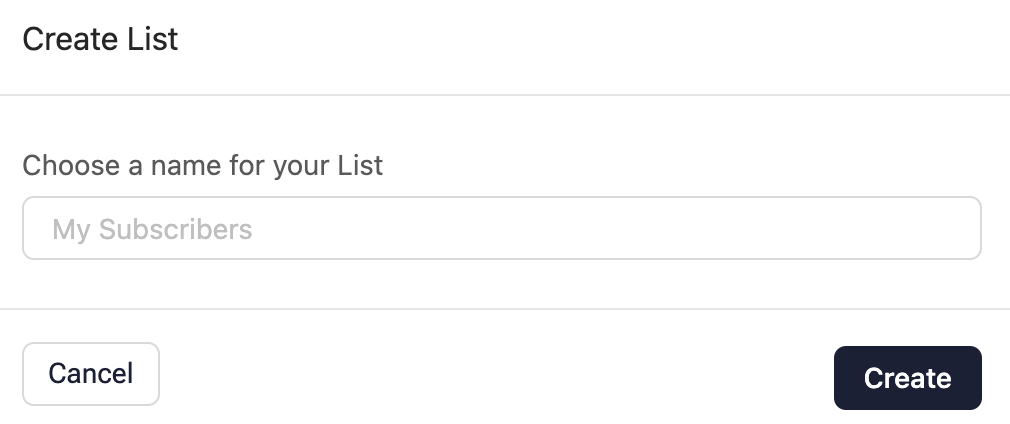
Click the Create List button from the top right corner.
-
On the Create List modal, enter a meaningful name for your list. Click Create.
-
The Add Contacts modal opens. Select one of the following options to add contacts to your list:
- Add Single Contact
- File Import
Add a Single Contact
Add a Single Contact lets you add information about a single customer to your list. Follow the steps below to add a single contact:
- On the Add Contacts Modal, click Add the single contact.
- Add the required contact information on the Enter Contact's Info screen.
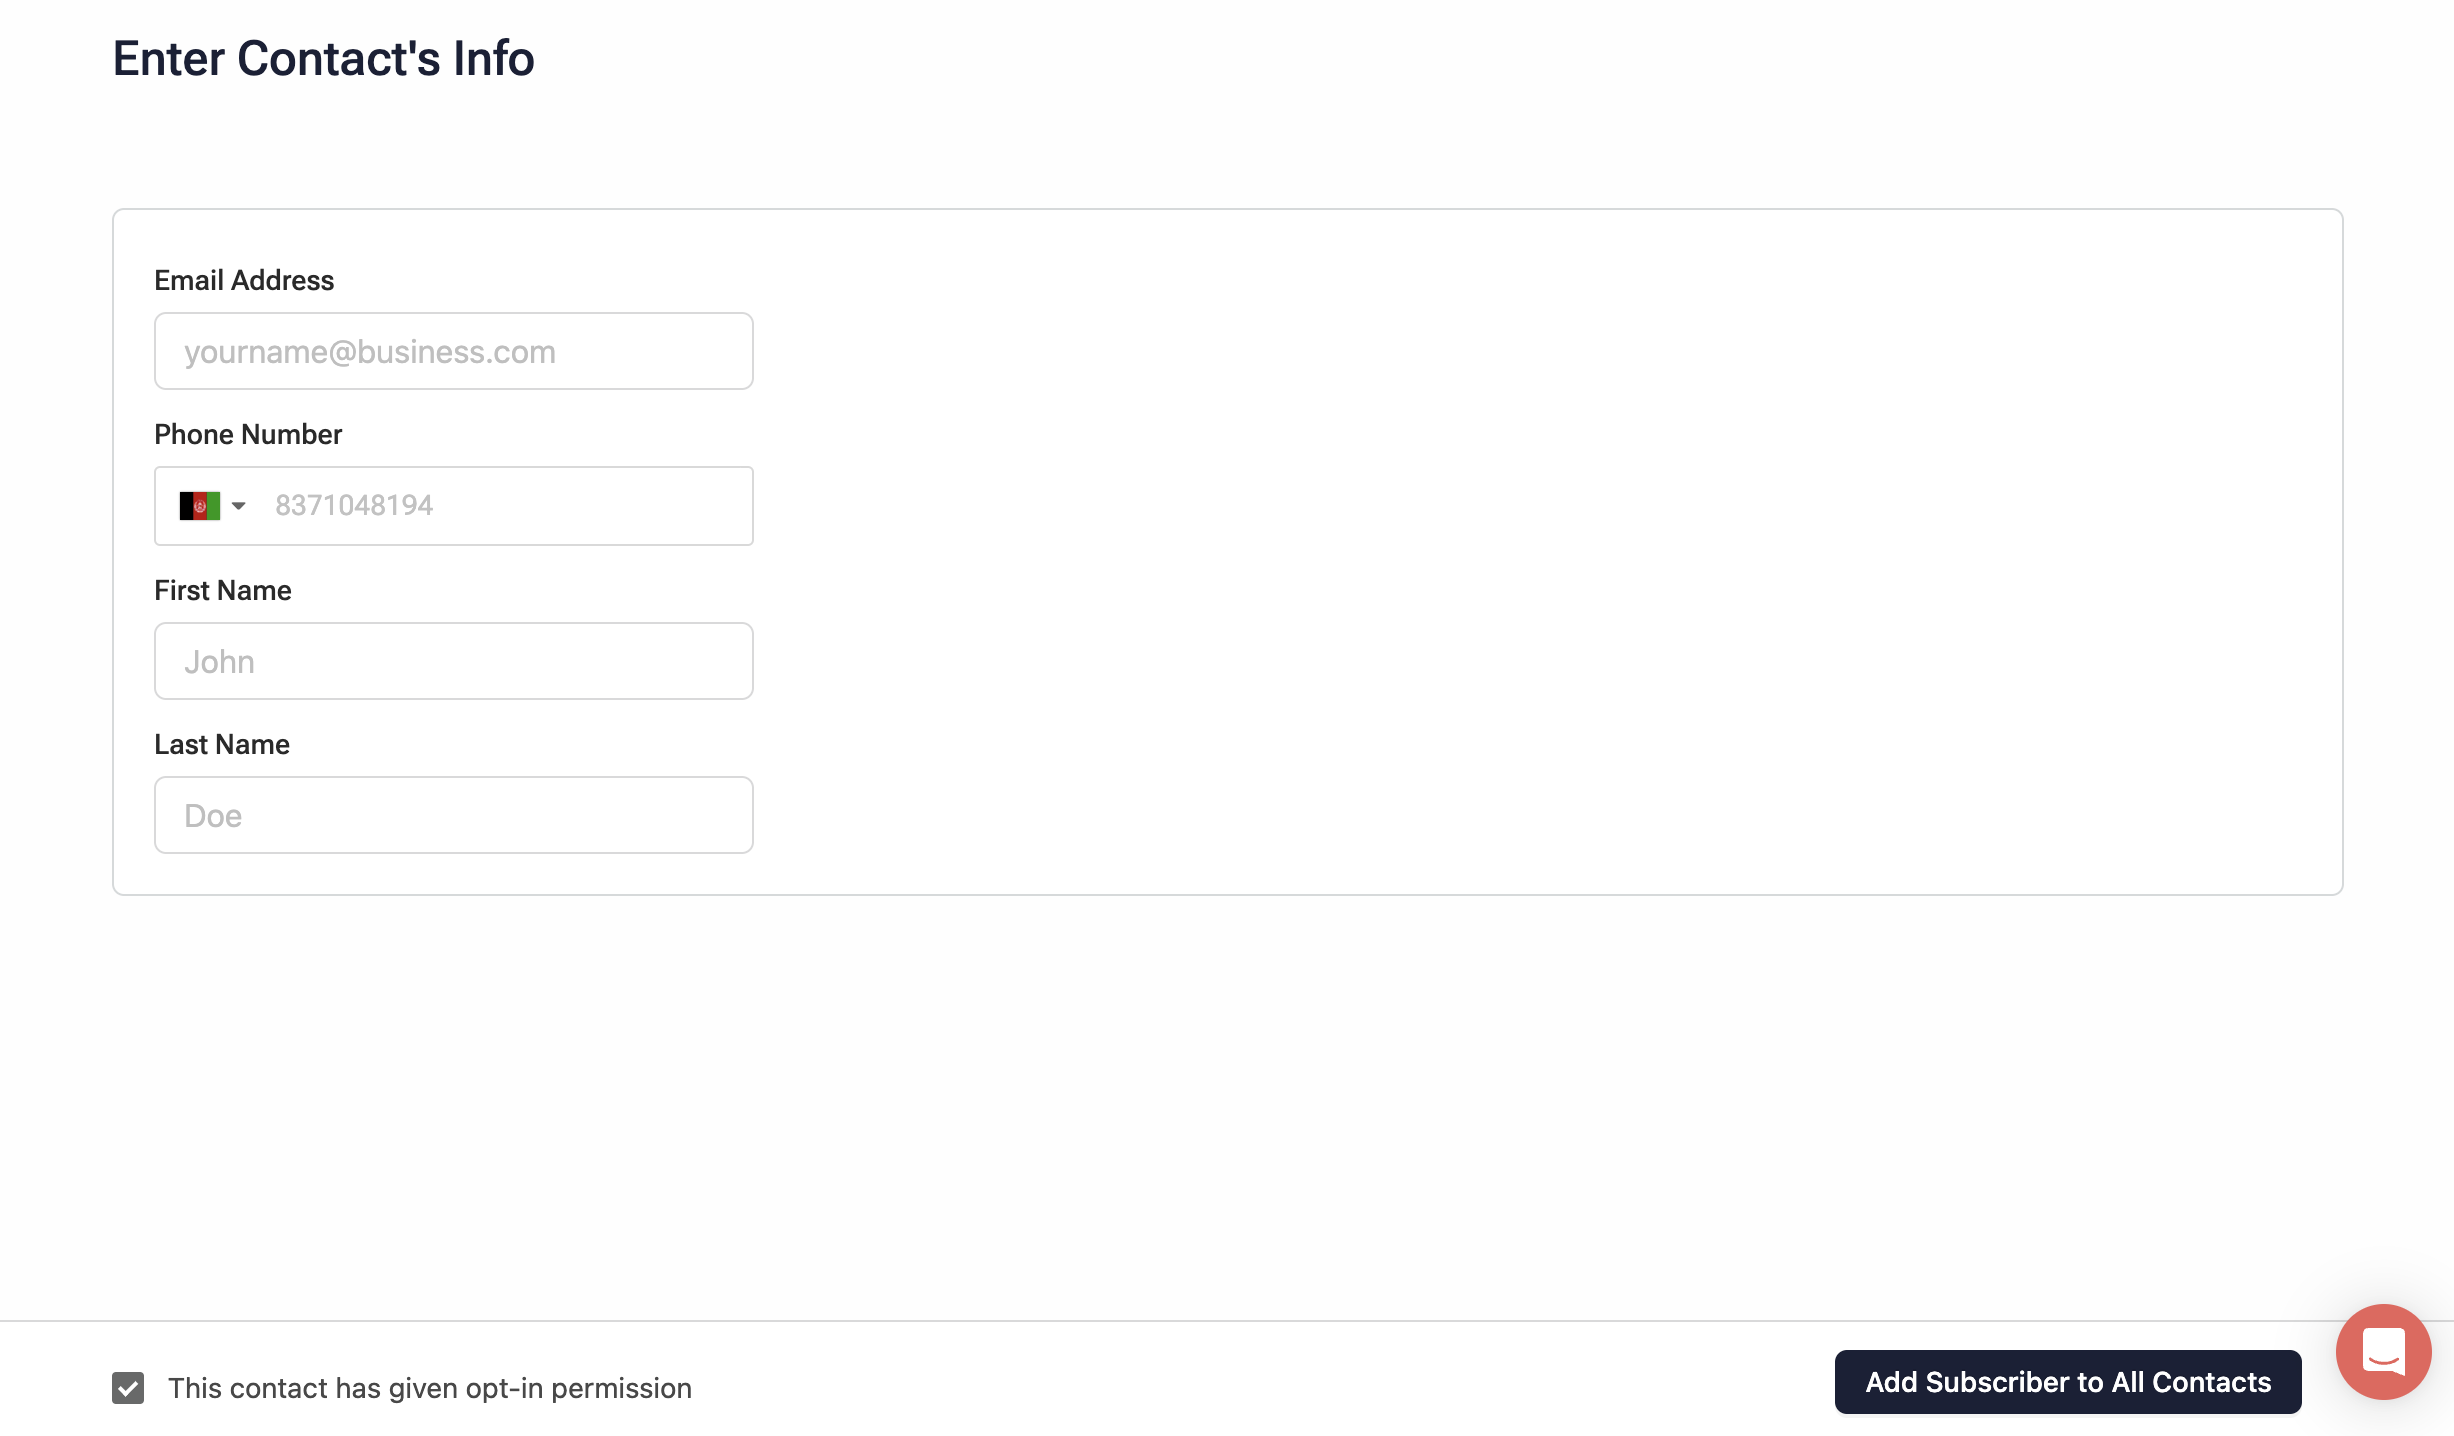
- Select the This contact has given opt-in permission if you have the opt-in permission from the customer. It is mandatory to have these permissions, else you cannot add the contact to your list.
- Click Add Subscriber to All Contacts to save the contact information.
File Import
File import lets you add multiple contacts to your list by adding a supported contact file (CSV, XLSX, XLS). Follow the steps below:
- On the Add Contacts modal, click File Import.
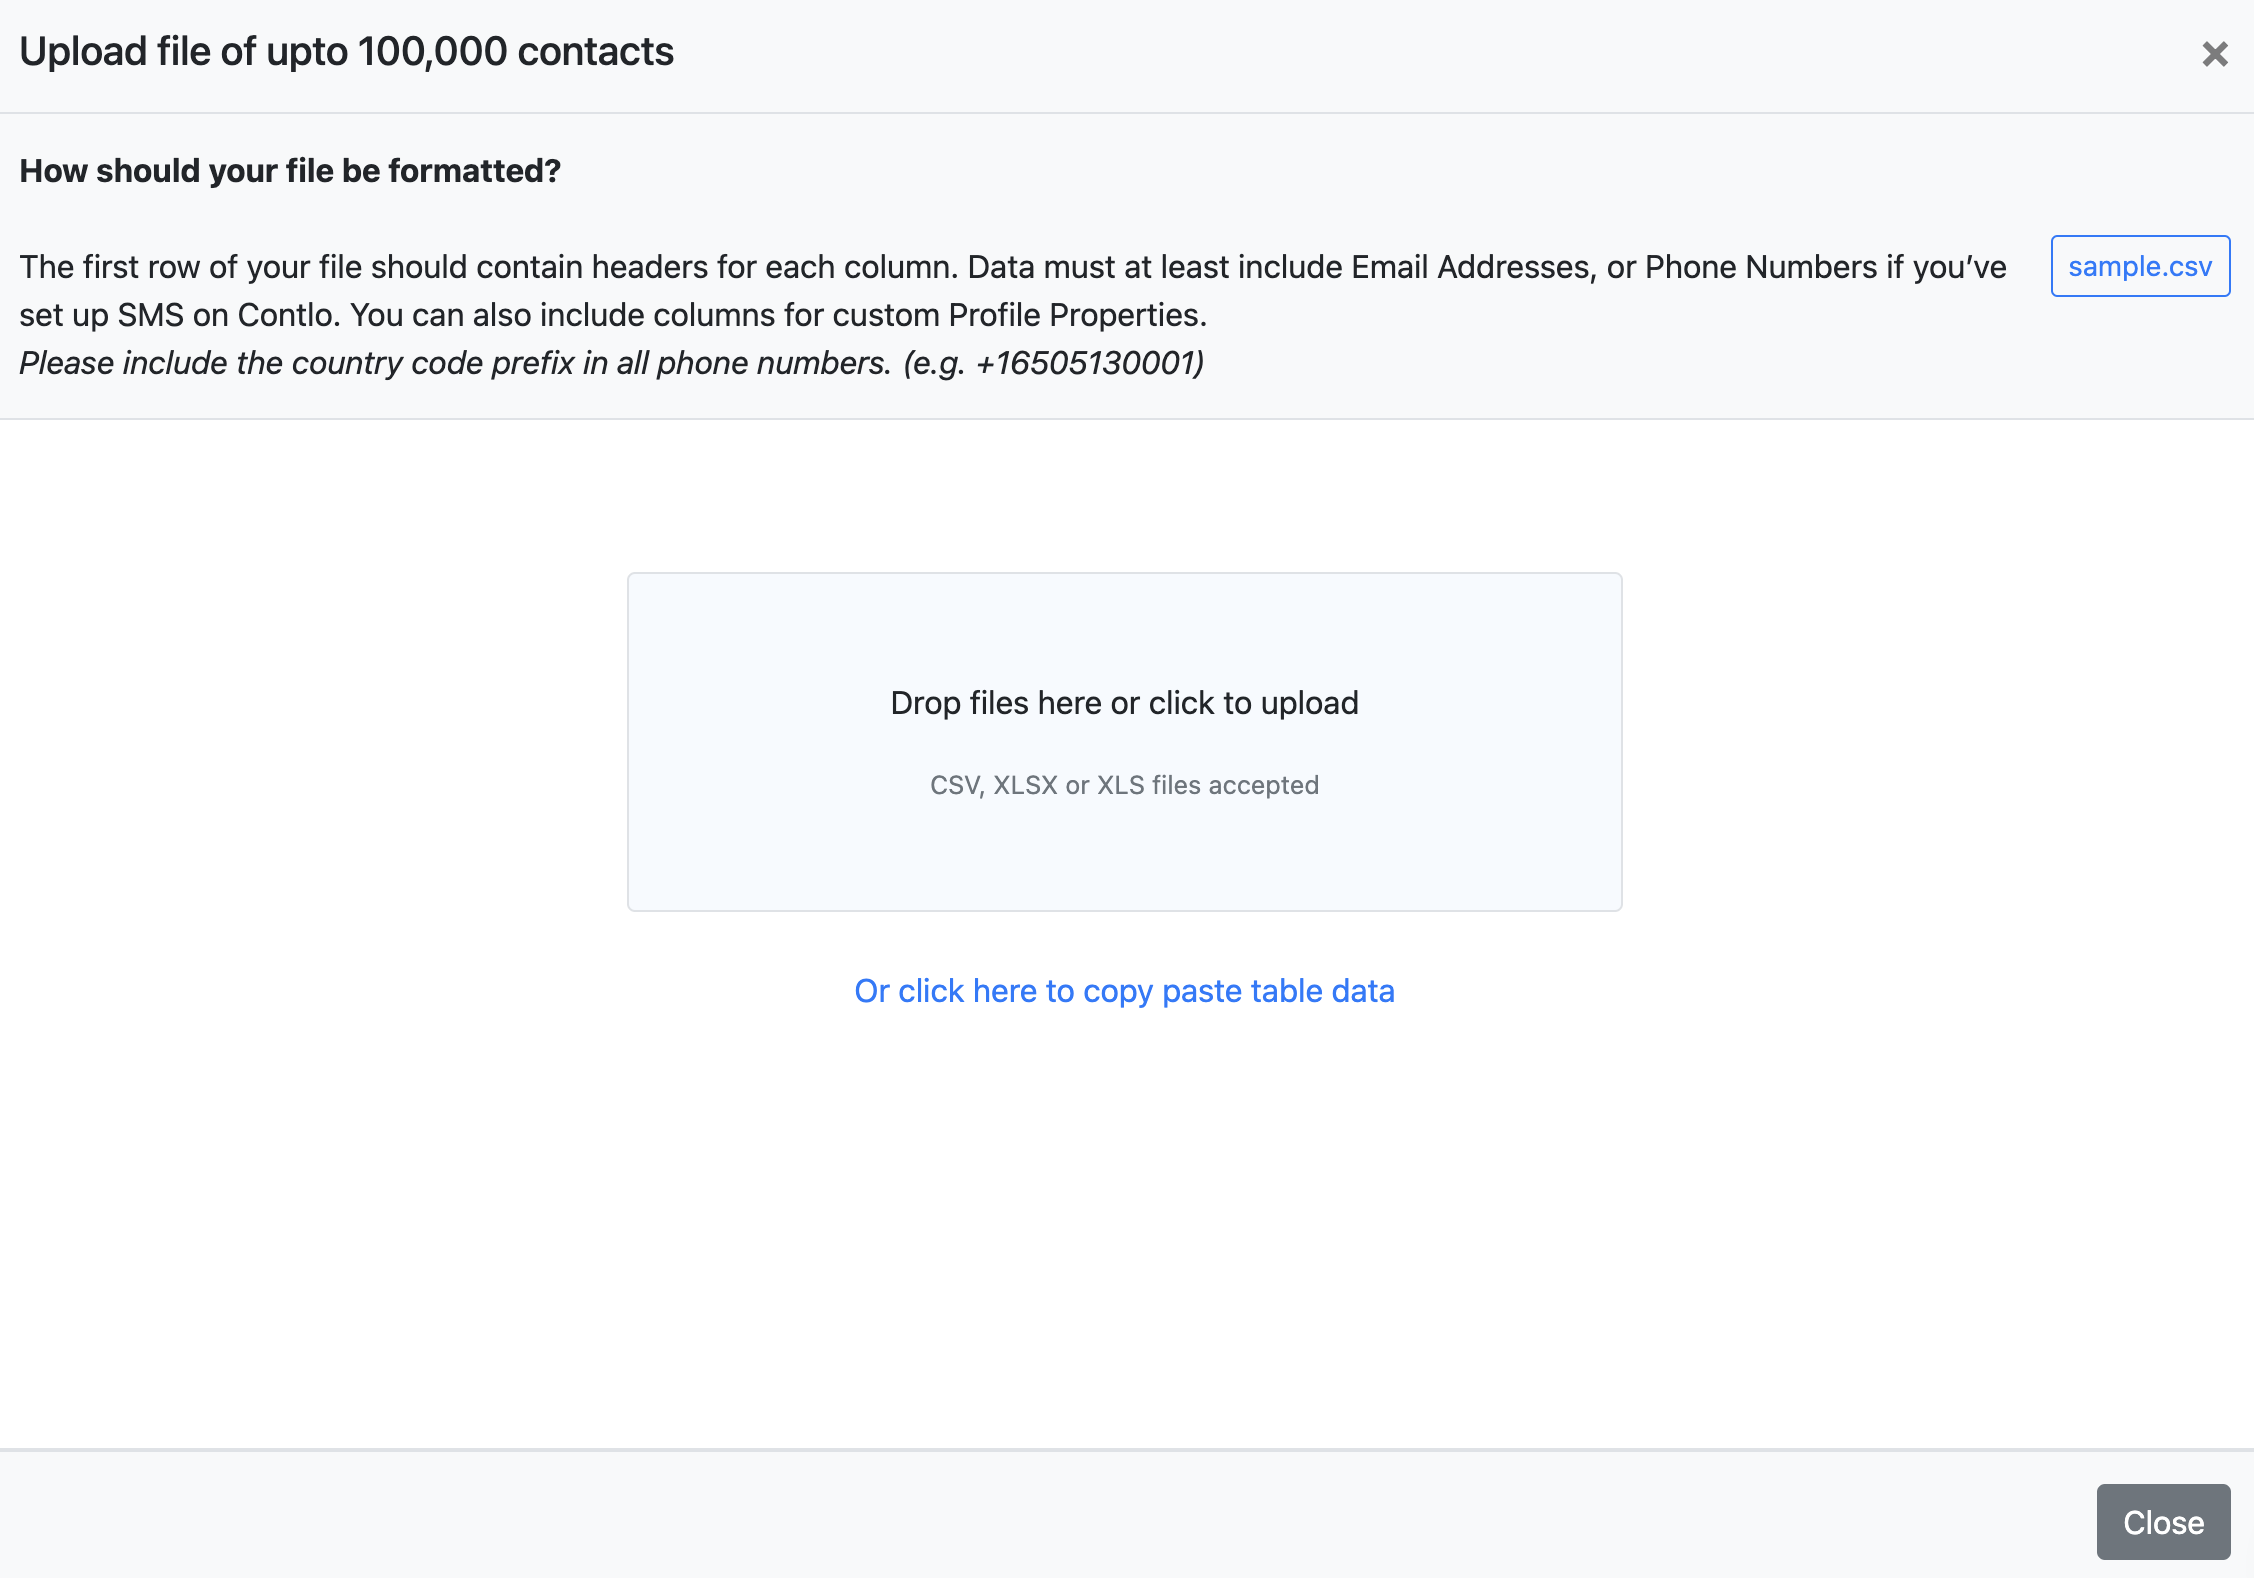
- On the File import modal, add the file that contains your contacts. Ensure the following format of your file:
- The first row of your file should contain headers for each column.
- The customer data in the file must at least include an Email address, or Phone number if you’ve set up an Email or SMS channel on Contlo.
- Ensure to include the country code prefix in all phone numbers.
- You can also include columns for custom Profile Properties.
-
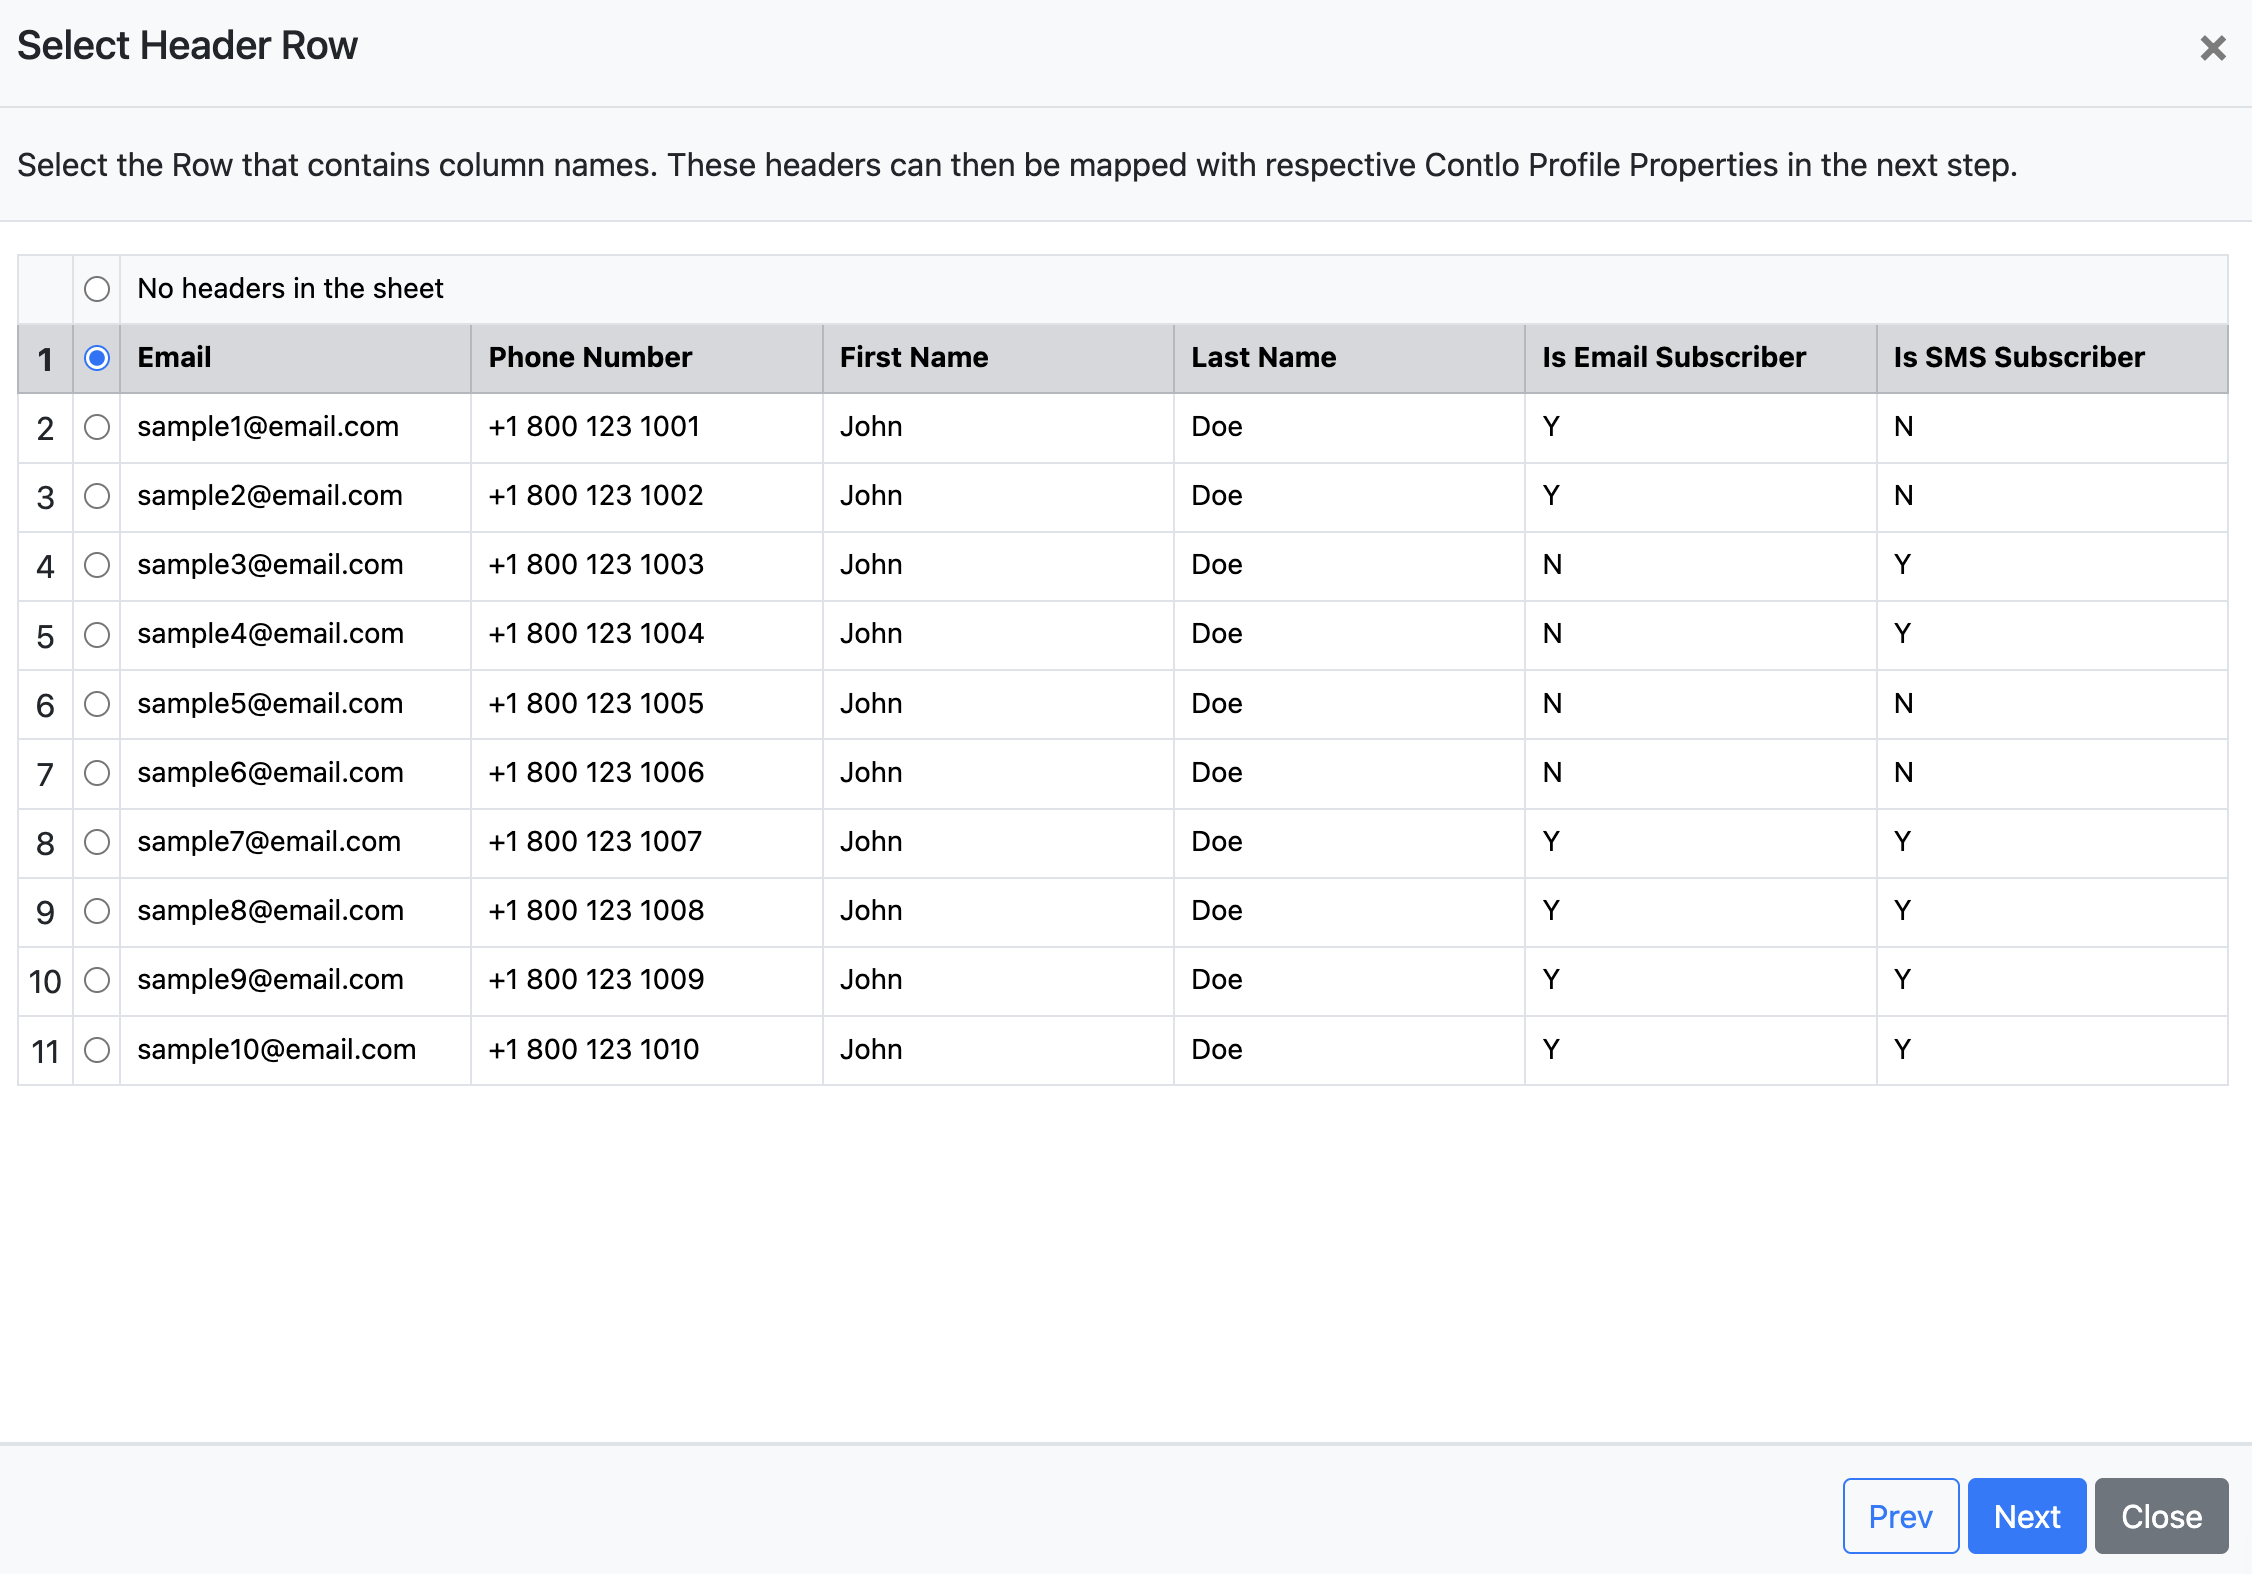
On uploading the file, its data is displayed in the table in the same modal. Set up the following to finish the import:
-
Select Header Row: Select the row that contains column names to map with respective Contlo Profile Properties in the next step.
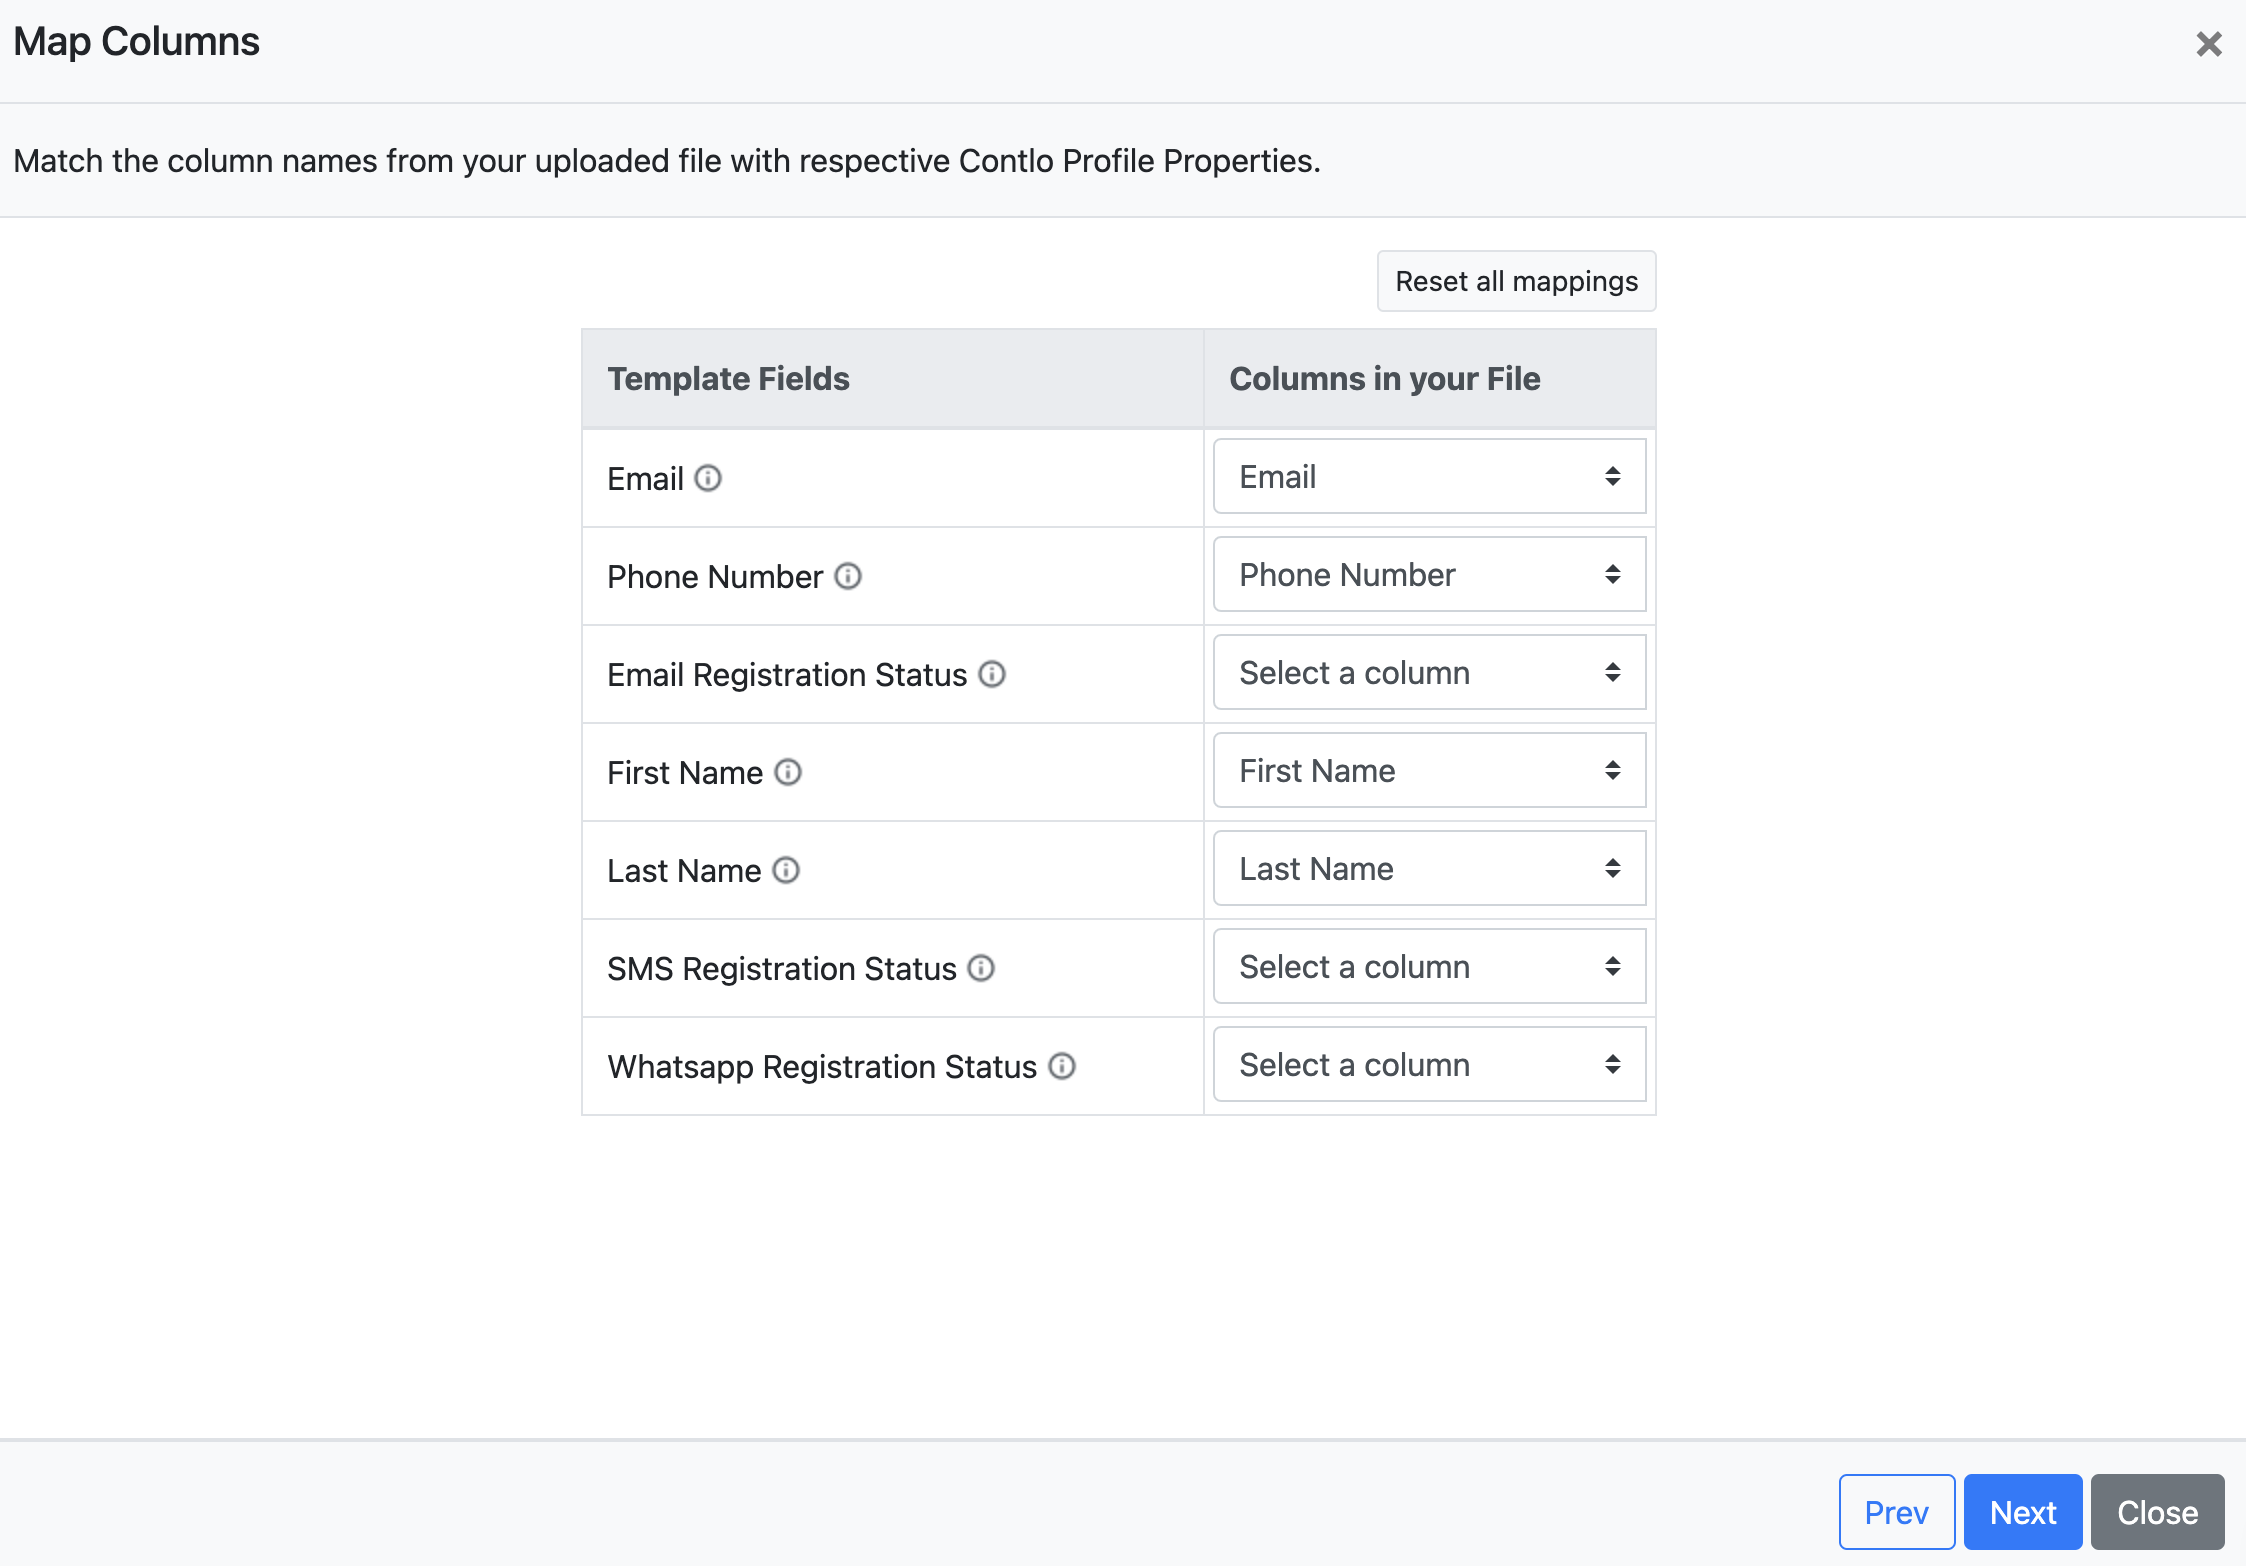
-
Map Columns: Match the column names from your uploaded file with respective Contlo Profile Properties.
-
Verify Data: Preview the customer data and fix any validation errors before proceeding.
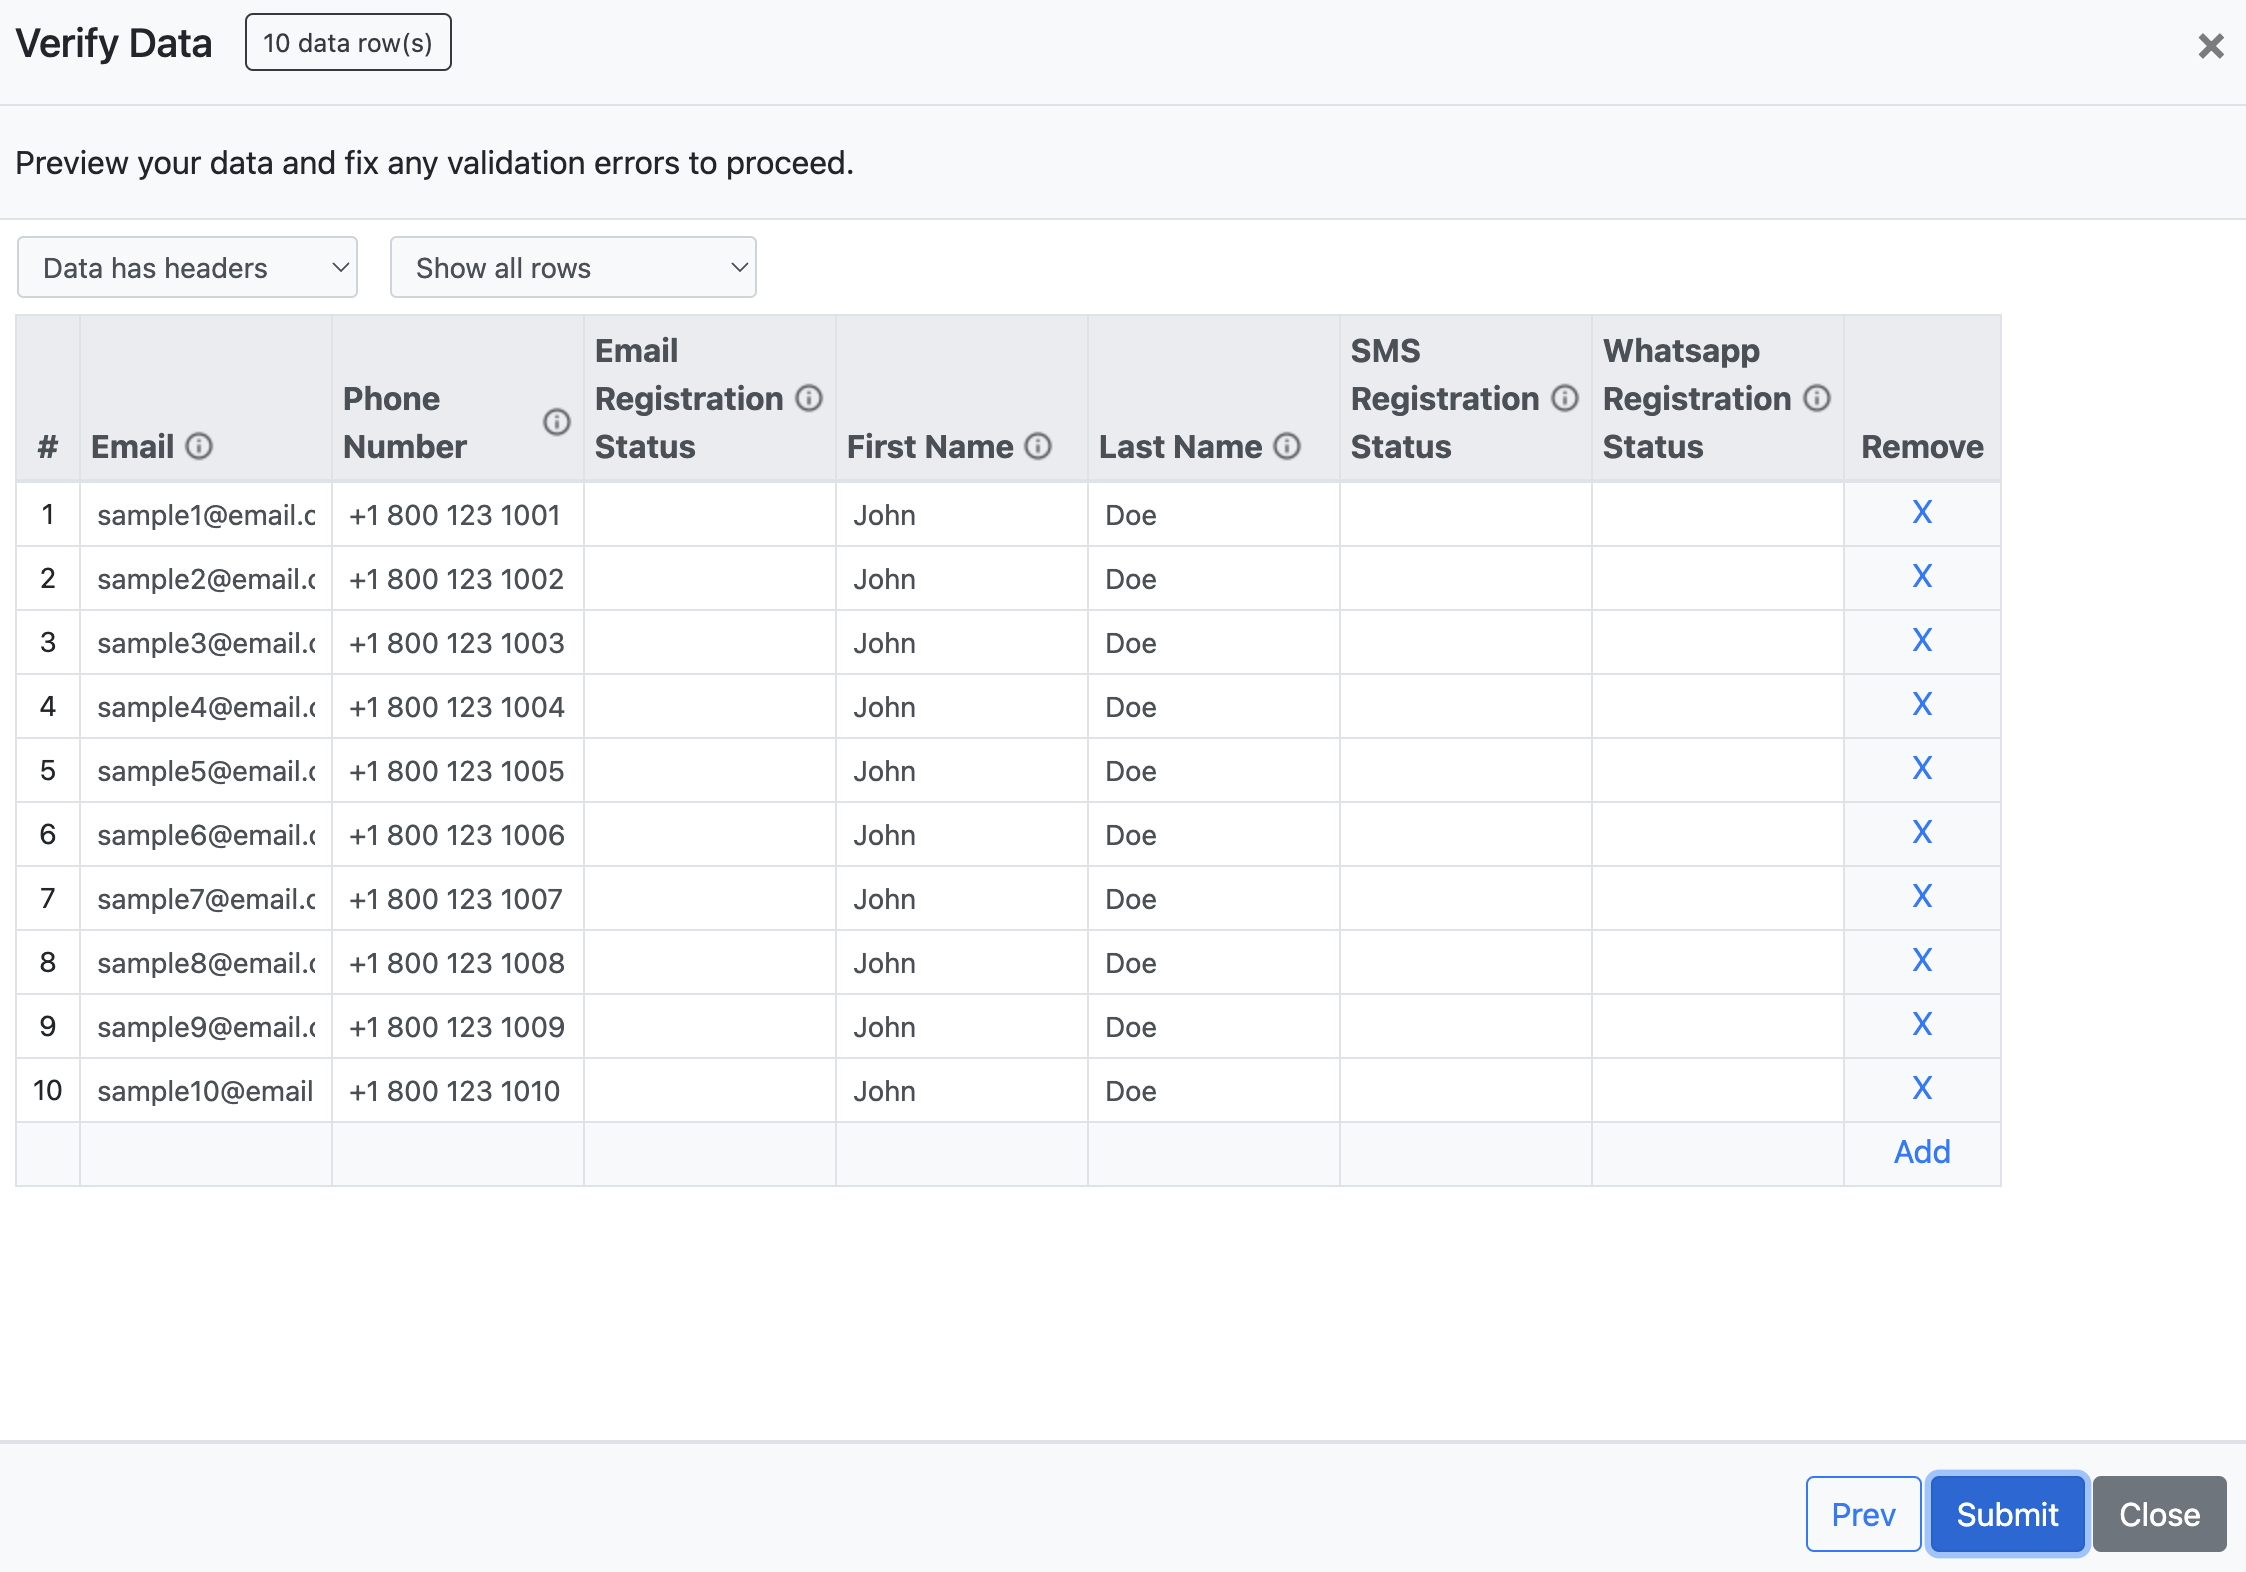
-
-
Click Submit to complete importing your contacts to the list.
Once you click Submit, the list is queued for processing. It typically takes a few minutes for the list to be generated.
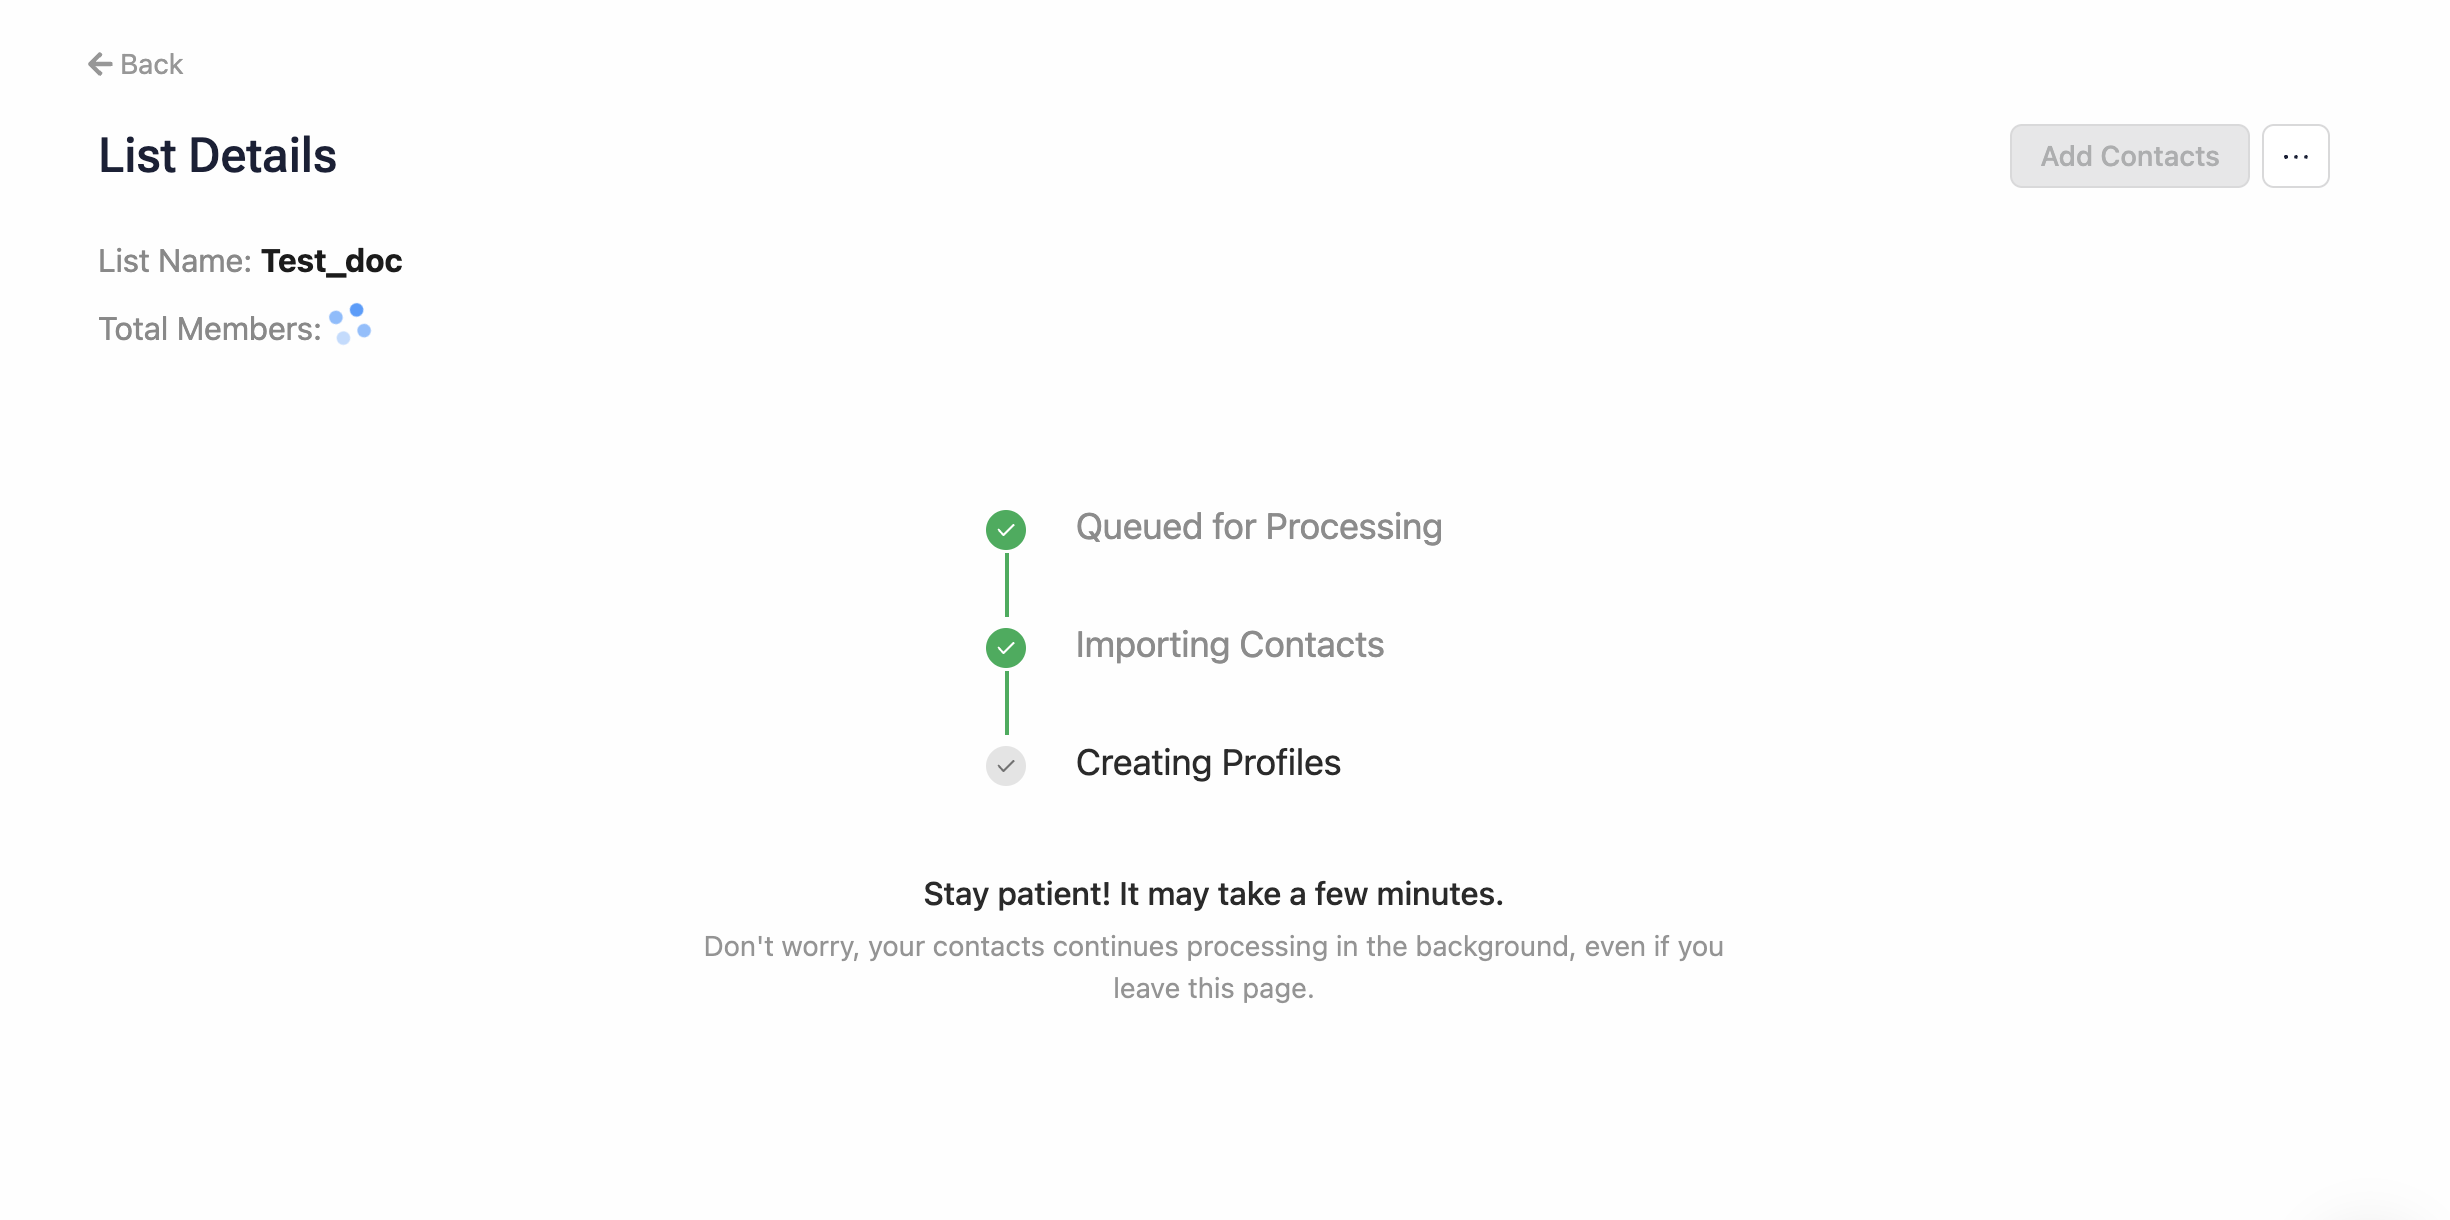
You can only use the new List once the process is complete.
Actions
You can perform the following actions on your list from the Actions column on the List table:
- View: Shows you the respective List.
- Import Contacts: This enables you to add more contacts to your list.
- Edit List Name: This enables you to change the List name.
- Delete: Deletes the respective List.
Updated 2 months ago