
Overview
Send personalized and automated communications to your customers
Contlo offers a powerful Automation builder that enables you to create and send automated messages via preferred channels (Email, SMS, WhatsApp, Web Push, Mobile Push) to your subscribers, buyers, or customers based on a variety of triggers. You can easily set up automated campaigns to target specific audiences, such as abandoned cart recovery emails, welcome emails for new subscribers, or post-purchase follow-up emails.
Create an Automation
To create a new Automation, follow the steps below:
-
Navigate to the Automations section from the sidebar.
-
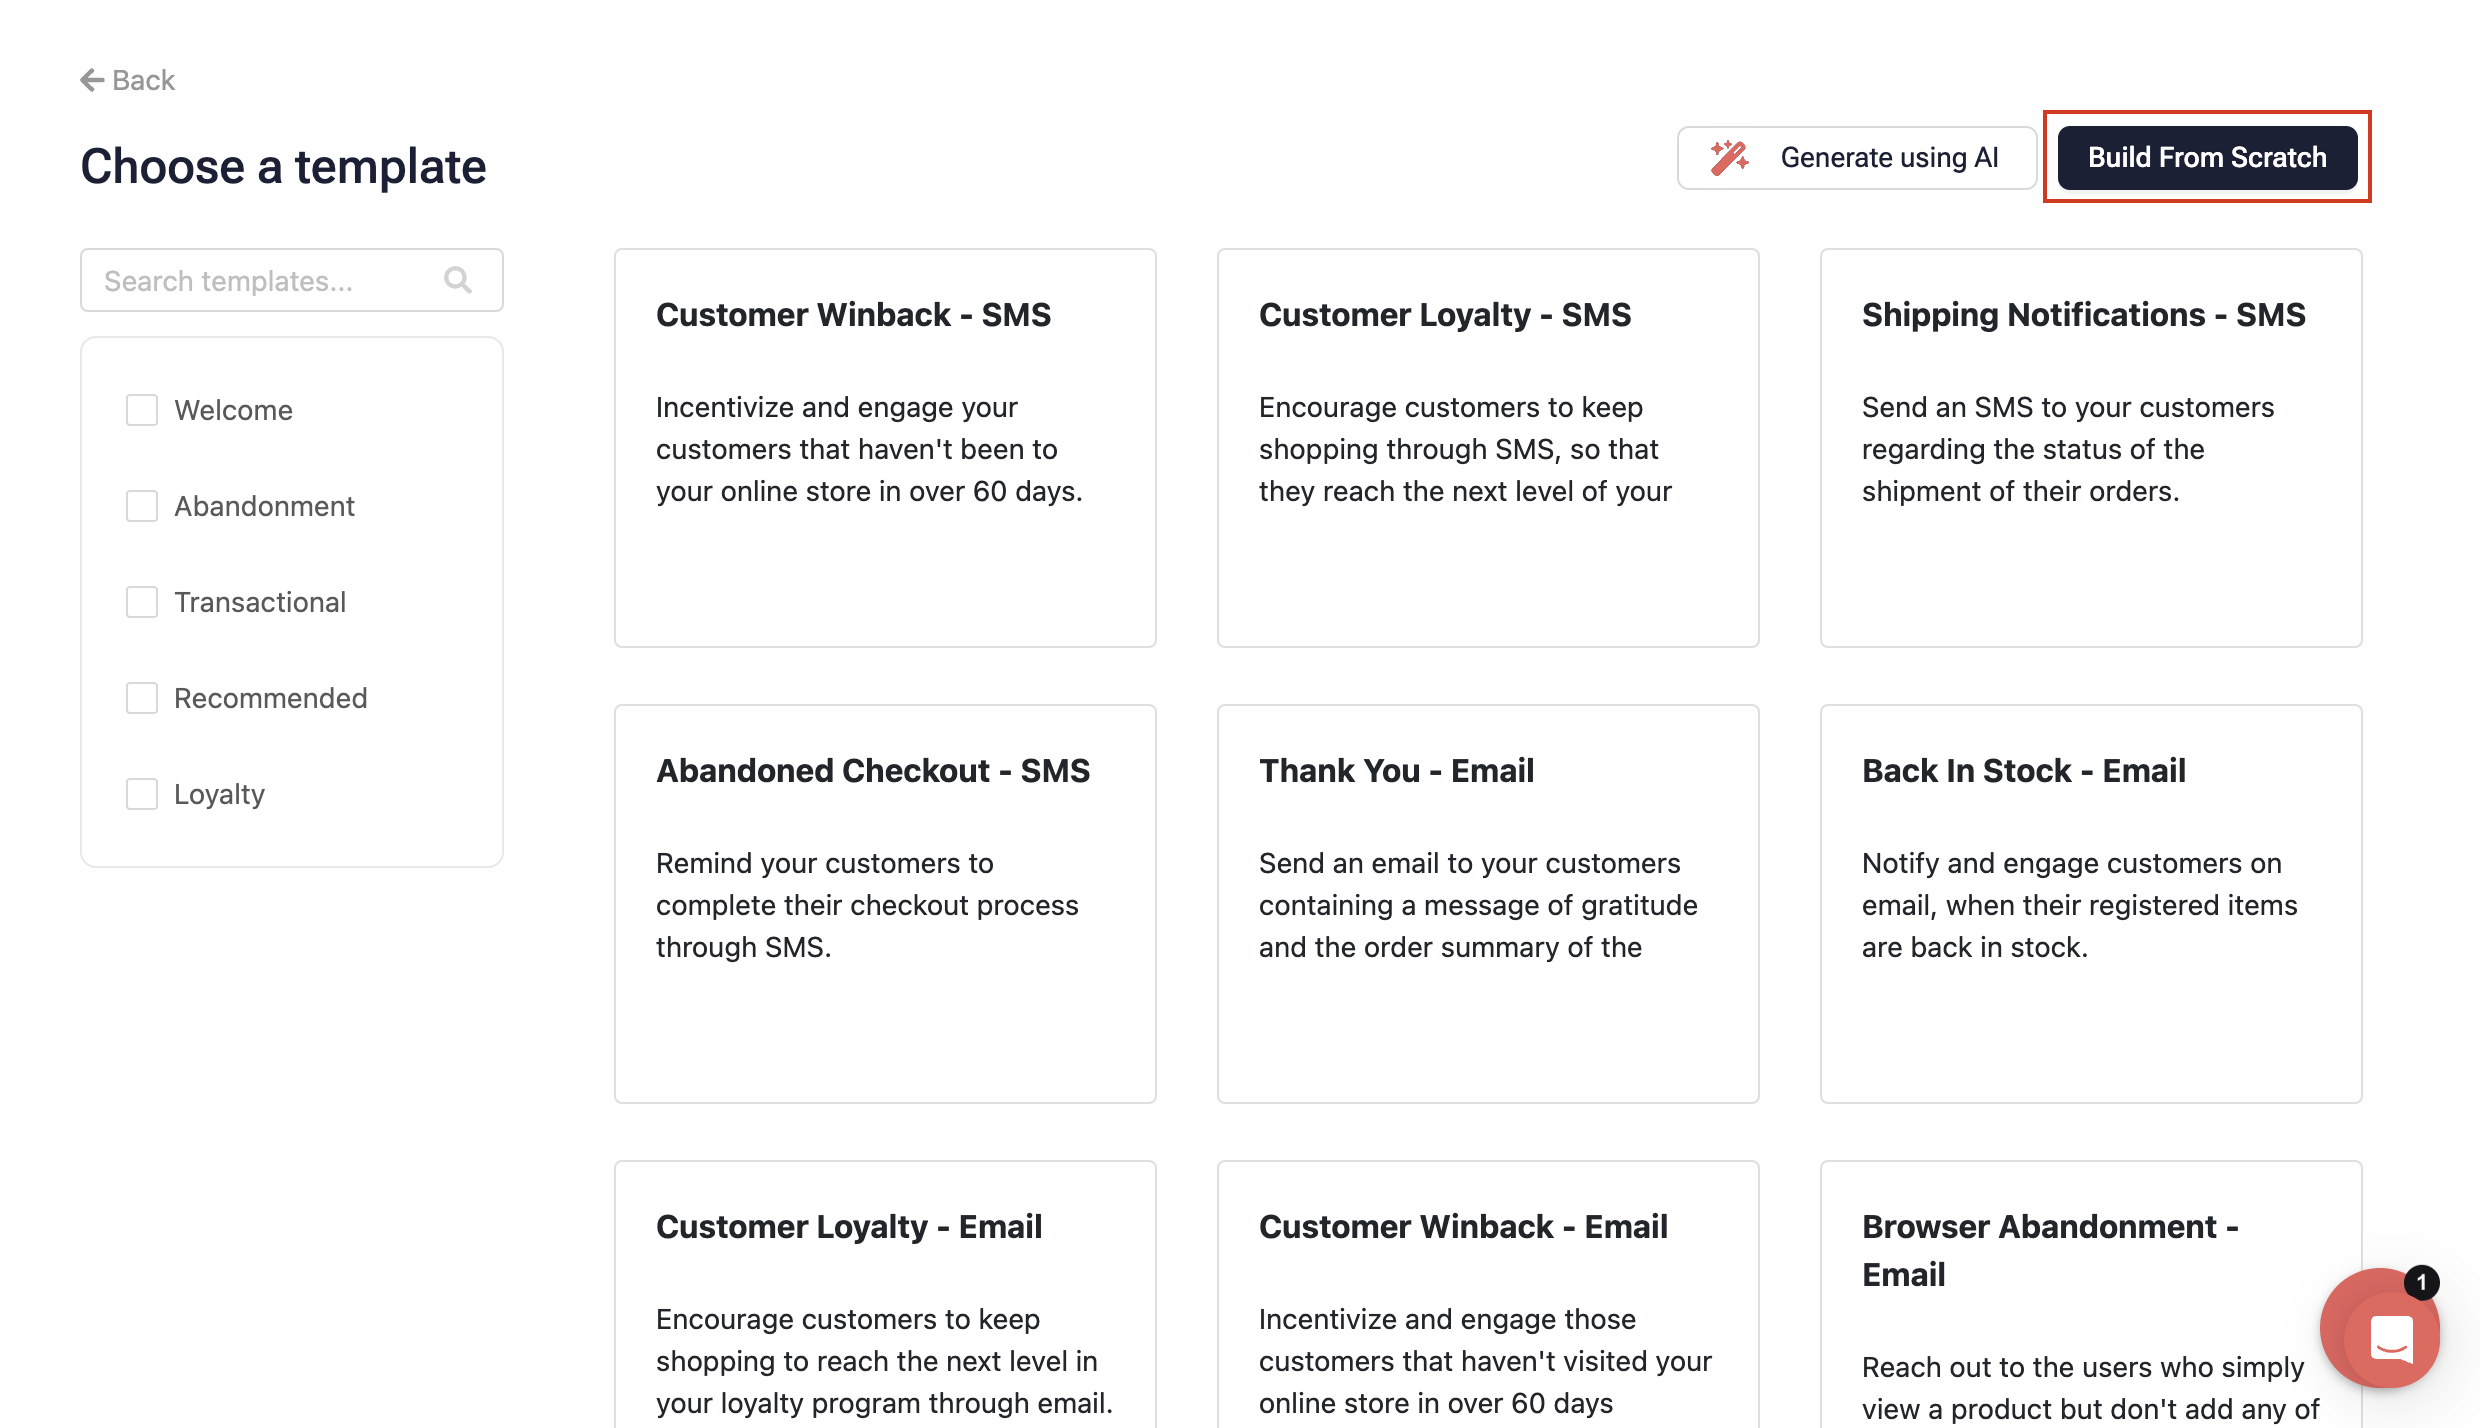
On the Automations page, click the Create Automation button. You would land on the Choose a template page.
-
You can create Automations in Contlo in two ways:
-
Pre-defined template: Choose a template from Contlo's template library that fits your use case. Click the Use Template button to start building on the template.
-
Build from scratch: Build a custom Automation from scratch.
-
-
You would move to the Automation Editor. An Automation workflow comprises Trigger conditions, Filter conditions, Message Blocks, and Flow Actions. Define the parameters for your Automation here. For more information, check Automation Editor.
Once your basic setup for Automation is complete, you can look at the following use cases of Automations:
Updated about 1 year ago